The number one cause of our mustangs floor damage/rust problems we have are due to the most likely cause, a rusted out cowl. Fortunately, everything can be fixed with the right amount of patience.Below, I will guide you on how to not only be able to replace a partial part of your rusted out cowl, but I will also guide you through replacing the whole 9 yards.
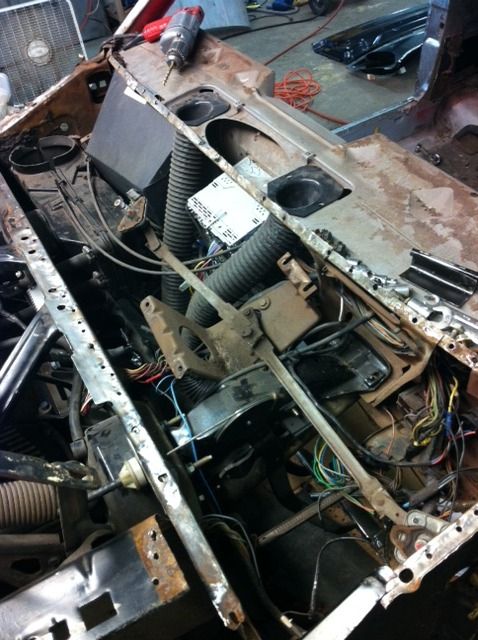
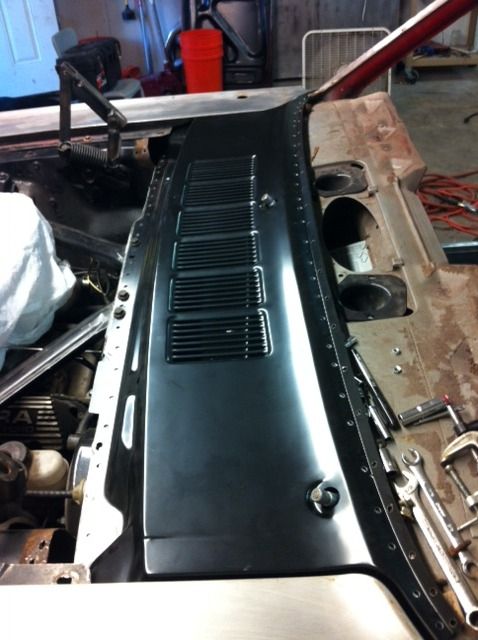
Here is the current cowl we will be working with:

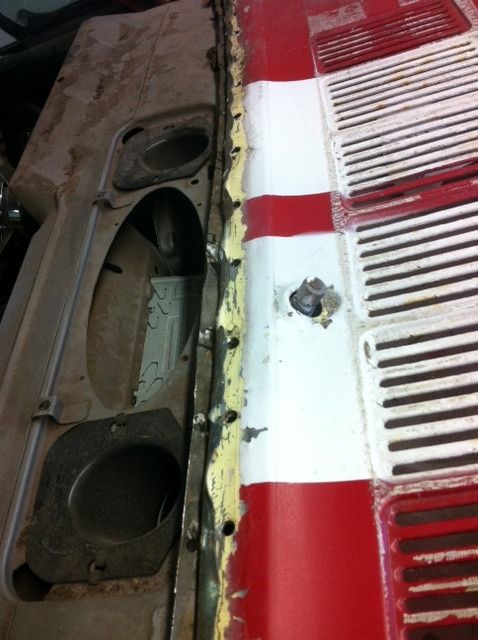
Previous owner had tried replacing the lower cowl corners by doing it this way.Yep, butchered the top piece up. the other side was gone! If you are going to do it this way, do it the right way atleast!

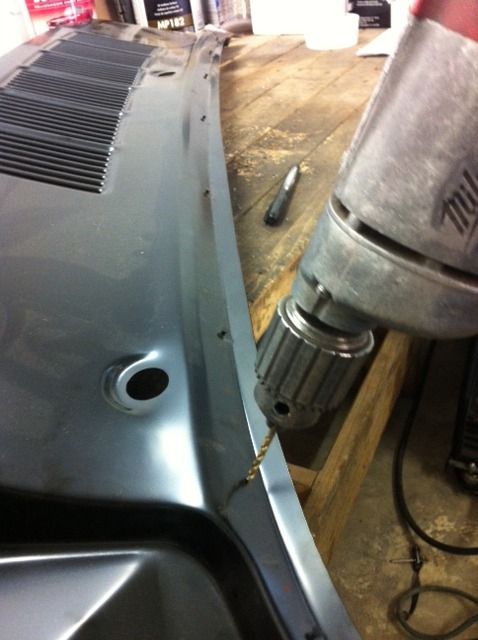
start off by drilling out all of the spot welds on both the firewall/cowl panel and the upper portion where the cowl is welded to the dash. Also, be sure to remove the rear fender apron extensions. Each has a total of 6-7 spot welds.
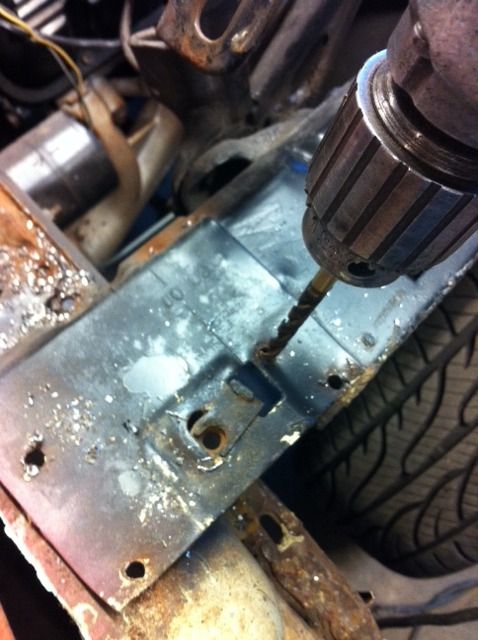
Once the spot welds are drilled out, the top panel should be ready to come off.Use a flat head to get between the lower and the top panels of the cowl so you can begin lifting off the top cowl panel. The windshield wiper assembly is the next thing to remove. there are 4 bolts attached to the lower cowl panel that hold the wiper motor. the bottom two are a breeze to remove, the top two...Not so Easy. You will also have to remove the 3 bolts that hold the wiper arm pivot on both the passenger and driver side.Total of 6 bolts there.
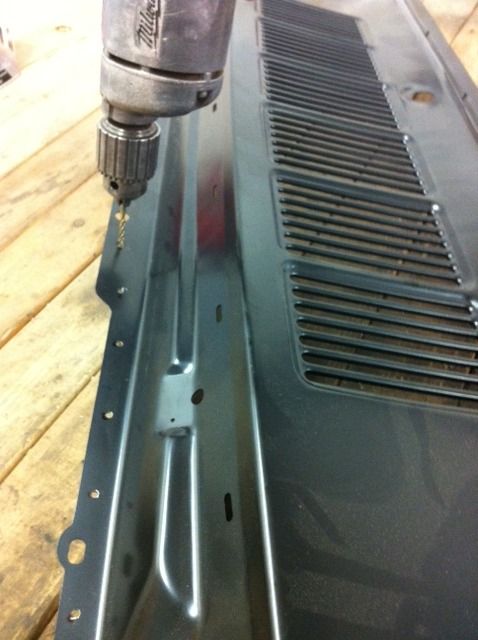
Now that the top panel is off,do not get excited just yet!If you drill right through the welds, you will be able to remove the lower cowl panel easily after the top panel has been removed.The top, bottom cowl, and firewall panels are all sandwiched together and welded.NOTE: If removing the complete cowl, it is best to do it this way or if not you will be drilling out the same spot weld twice. If wanting to remove just the top piece of the cowl, use a special drill bit that wont drill through the whole spot weld.When using this drill bit,while drilling, if you look in between the seam where the two panels meet, a small puff of rust dust will come out. That is due to the moisture that builds up in between the two panels.When you see that puff, that is a sign that you have reached the other panel and you are clear to stop drilling.Once you remove the top cowl panel, you are good to go on replacing the corners of the bottom cowl panel where the carnage is usually at.Patch panels are available at your preferable mustang store. When the patch panels are in hand, make sure to measure more than one time, and cut once! When you do not do that, look at what happens... Previous owner tried to replace the lower cowl passenger side from inside the car,cut to whatever, and screwed everything up.Ahhh now thats why my car always flooded when it rained... To install top cowl panel, do the the reverse order on how you removed it. Make sure to seam seal all seams!!!
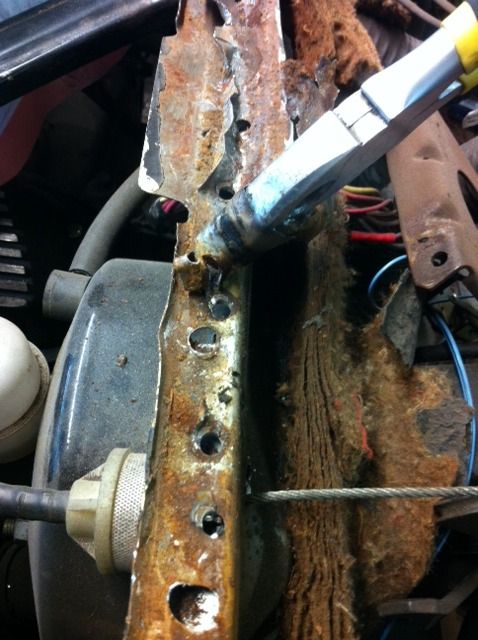
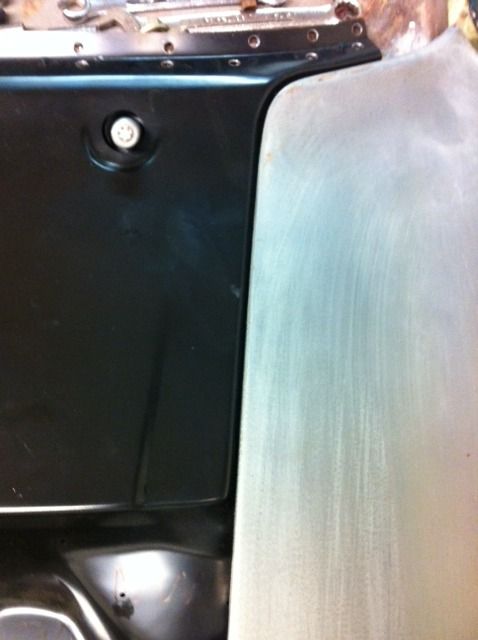
Here, the bottom cowl panel is now removed.Make sure to remove any remaining pieces left of the old cowl. A wire wheel helps clean up all the old seam sealer and preps the metal well for weld thru primer.
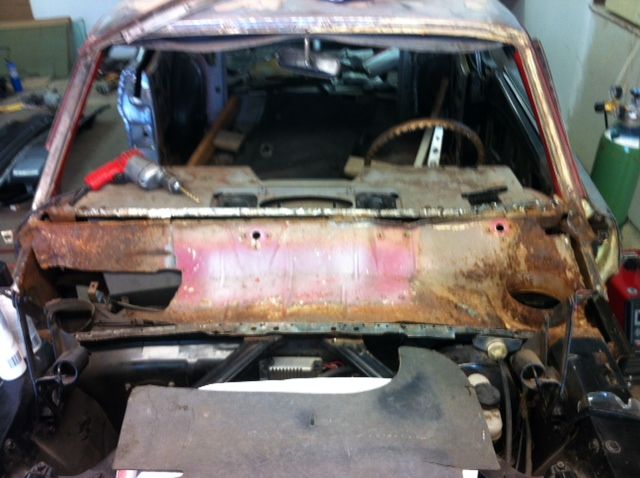
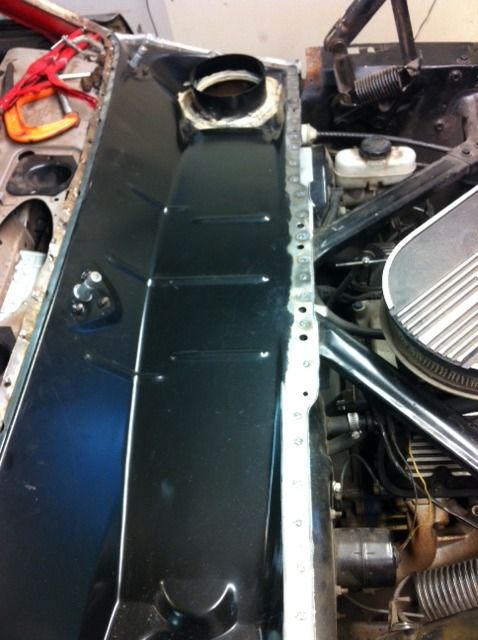
Once you have fully removed both panels, you will see all the wiring guts you havent see in your car.Go through the firewall panel and grind off any sharp weld edges. Clean afterwards with a wire wheel, refill in the wholes with weld, grind down, and prime with special weldable primer.This is also a good time to clean out your dash and especially insulate your car's firewall.On these pictures,I had already removed the old insulation on my car.Dynamat will be used to Replace the old fiberglass insulation.
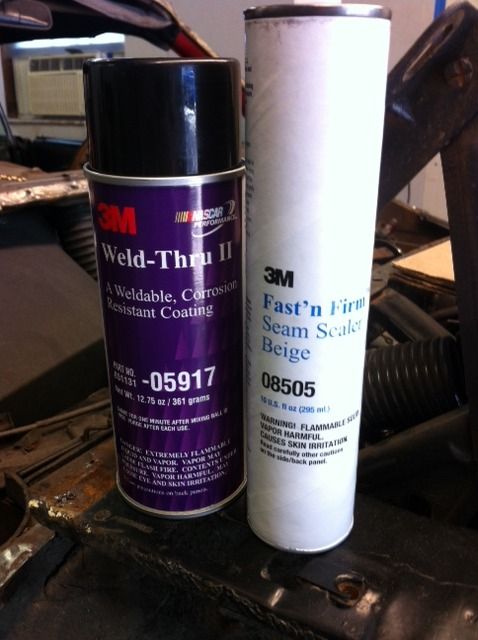
Your two best friends you will need to buy:
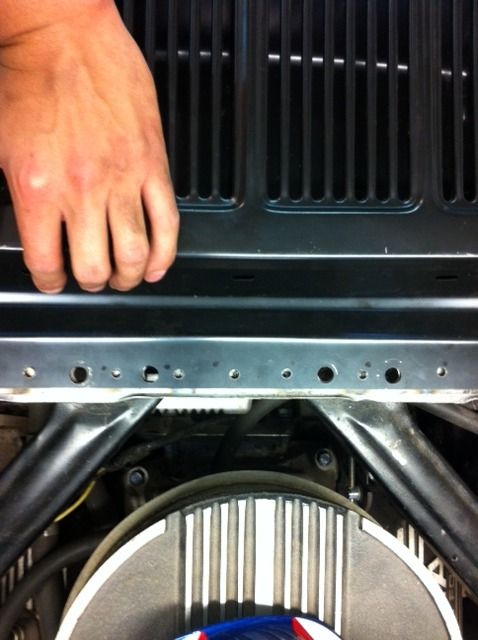
Now that everything is prepped up for the new Cowl, We are ready to begin preparing the new cowl for installation. Begin by marking where you want to drill out wholes for your spot. make sure to use your old cowl top just in case you need something to reference it to. Start by using a small 1/8" or 9/65" drill bit, and then come back and drill the holes with a 1/4" drill bit. It is twice the work, but it keeps the metal from getting contorted or warped.NOTE, the lower Cowl Panel's Upper portion DOES NOT need to be drilled for spot welds.It should ONLY be cleaned so the upper cowl panel can be welded to it.If you see in the pictures above, you will notice the UPPER cowl panel is welded to the dash, not the lower cowl panel.
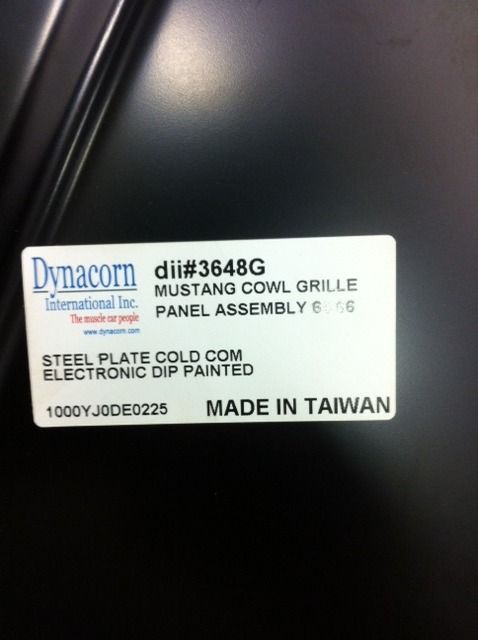
Yeah it's made in Taiwan.. but Dynacorn makes some really good stuff!
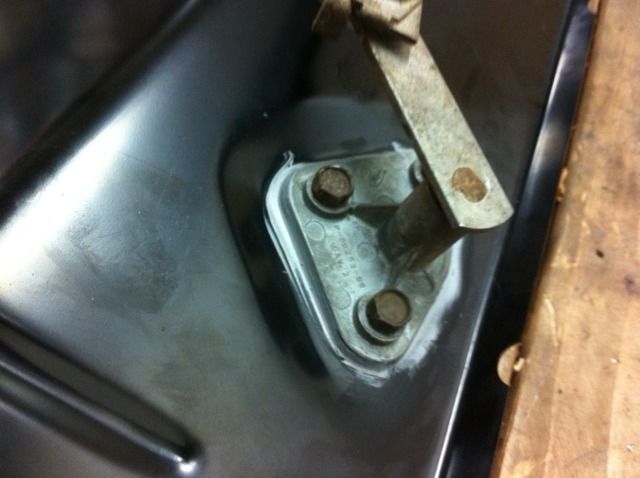
If you have the MustangSteve T5 cable clutch setup, make sure to raise/hammer the lower cowl panel just a bit so there will be clearance for the clutch cable and clutch pedal Quadrant.
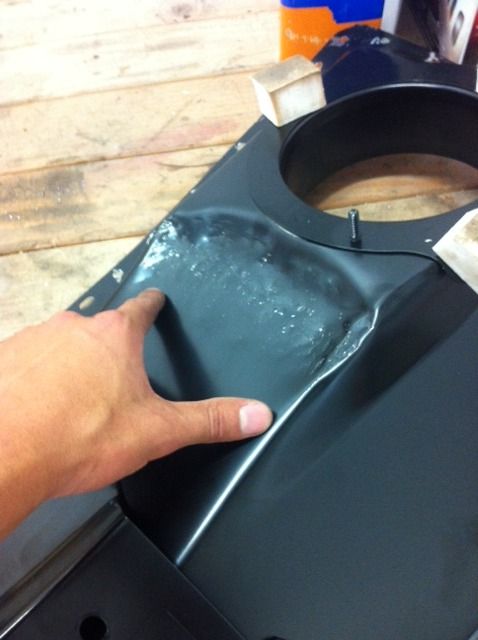
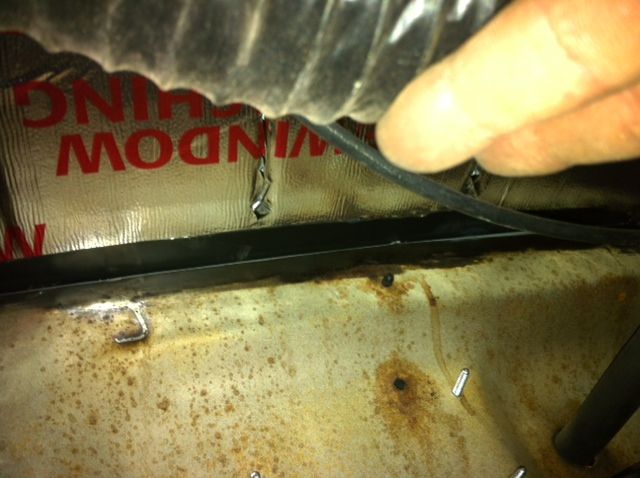
As you can see here, I began using some insulation type stuff to keep the heat from penetrating through the car. This is a good Idea to do while the Cowl is Outside of the car lol.Also, Install the Windshield wiper assembly before hand, trust me, It makes life WAAAY easier. Also, just in case you are worried about ever getting a leak, use a paper thin bead of RTV sealer when installing the wiper assembly.This will never leak for the next Hundred years! Tip I Learned from MustangSteve . You can also begin seam sealing the cowl panel cups to prevent any leakage whatsoever.You can do this AFTER you have welded the lower cowl panel.Will keep from any weld debris from burning through the seam sealer.BUT, make sure to seam seal the lower portion of the lower cowl panel since it is hard to reach when installed in the car. One good thing you might want to consider is doing a water/Leak test once the seam sealer has hardened. Use a garden hose and pour water onto the lower cowl panel. No water= , Water leaking=
 .Make sure everything is seam sealed!

We are now ready to begin the installation of the new cowl panel.Tip: Use the four holes which hold your export brace as a centerline reference.The holes on this cowl sat perfectly in line with the original firewall holes and made everything align perfectly.Prepare all of your clamps, we are about to begin welding!!!
Now that the lower cowl panel is installed, The panel is ready for primer and paint.I wanted to make sure this was going to hold up for a LONG time so I welded the lower cowl panel first, grinded down the welds smooth,applied weldable primer, and the top cowl panel is ready for welding. I did not want to sandwich the three panels together using only one spot weld. This cowl will hold up forever!.
Once again, use the four holes as a centering reference. Also, PLEASE test fit your fenders and doors so that everything will be in alignment before you weld ANYTHING!!!
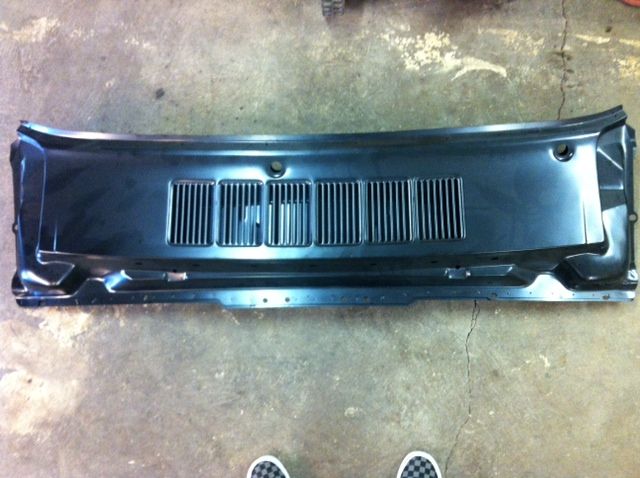
This aftermarket cowl worked out perfect. Here you can see the body lines line up quite well.
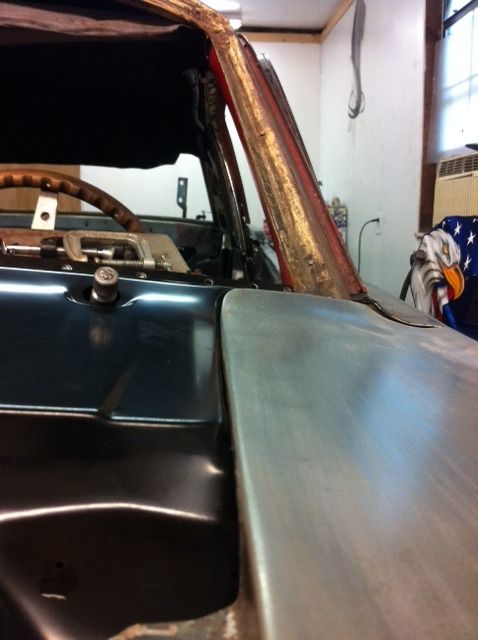
Top cowl will be sanded down so that all the aircraft stripper stuff wont fall into the lower panel and ruin the finish. Once your lower Cowl panel is welded in, your top cowl panel will be a breeze to weld and finish.Remember to weld the rear fender apron extensions back where they belong again!When finished, make sure to grind all welds down and seam seal everything including the two joints that meet up under the dash.
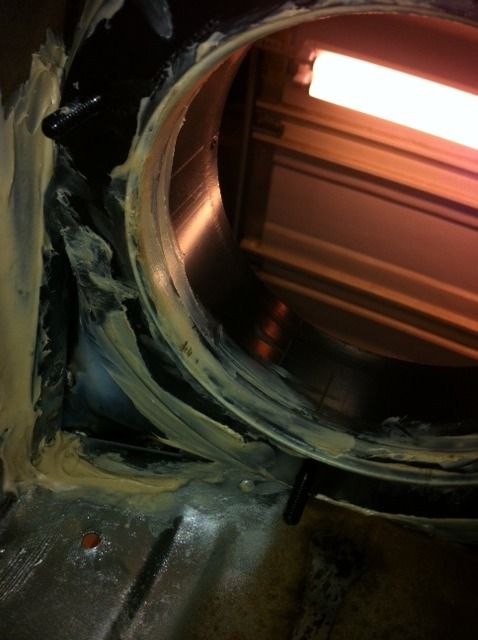
NOTE: It is recommended to sand away all the E-coat paint before painting primer and paint on it."
-Ramses
If you have any questions, be sure to post them on the forum
Last edited by Ramses (7/27/2013 3:09 PM)

 1 of 1