The installation of the headliner on your coupe or fastback body has got to be one of the most tedious and uncomfortable jobs one can do on their car. Restoration shops or upholstery shops typically charge high dollar when installing these for customers since it is a job that takes time and
ALOTTA PATIENCE! We usually just let professionals take car of the headliner to save us the trouble!
I decided to tackle the job myself since I am a college student and am a little low on funds at time to pay a professional to do this kinda job. Since I am a "Do It yourself" kinda guy considering most shops dont even do the job right or rip you off 90% of the time, I will show you that even an amateur like myself can do this job with professional results. All it takes is a little bit of patience. In this tutorial I will be using my 66 Coupe to show how to do the installation. Same steps apply to 67 and up coupe's.
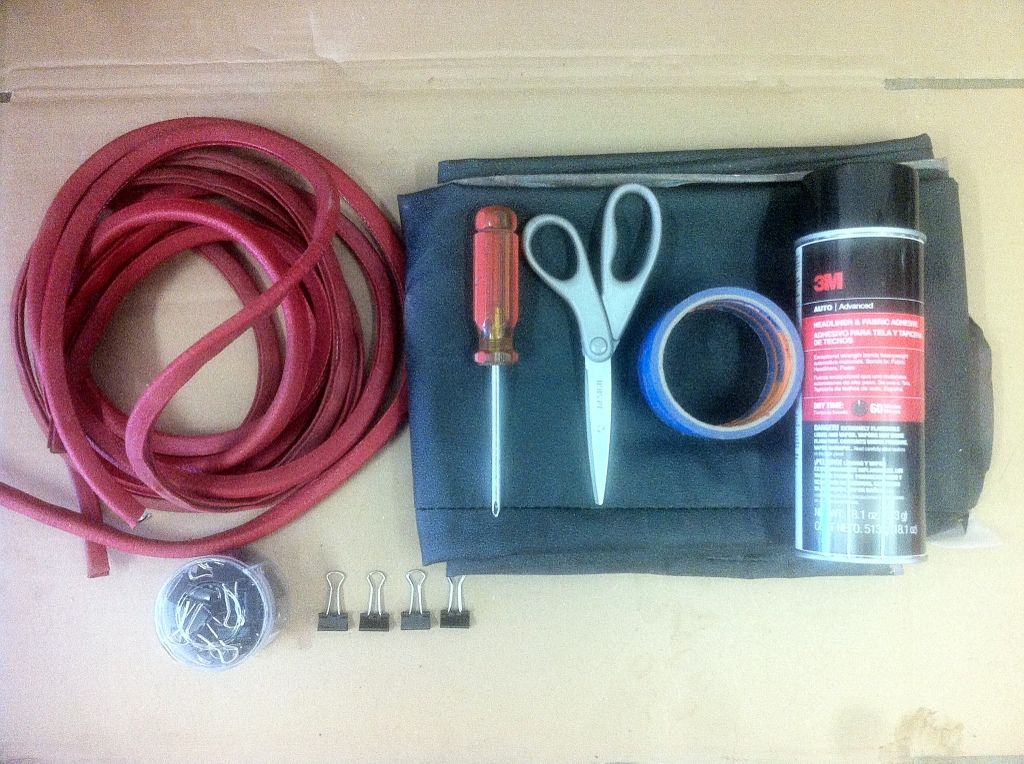
Stuff you will need:
Scrap windlace, Binder clips(50), Screwdriver, scissors, Automotive Tape, 3M Headliner Adhesive(Part#38808), Headliner.
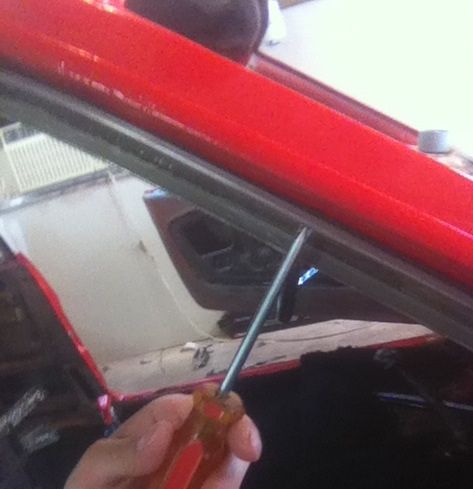
Begin by removing the roof rail weatherstripping and roof rails off of the car. My weatherstripping was not installed yet so all I had to do was remove the roof to door glass rails.You will need to remove these rails in order to pull and properly glue the headliner to the lip of the roof.
My old headliner was already cut out so all I had to do was pull the headliner bows out of the car and have them in the correct order from front to back. It is critical to not mix the order of the bows up as they all have specific locations on where they need to go in order to tension the headliner correctly. I layed them out on the ground while I prepare the inside of the car with insulation. You can use dynamat or whichever insulation you prefer. I used a mixture of foam padding and a roll of "Reflectix" Insulation available from your local Home Depot or Lowes.If using this type of insulation, You will need to spray adhesive on the insulation and have a clean surface before installing:
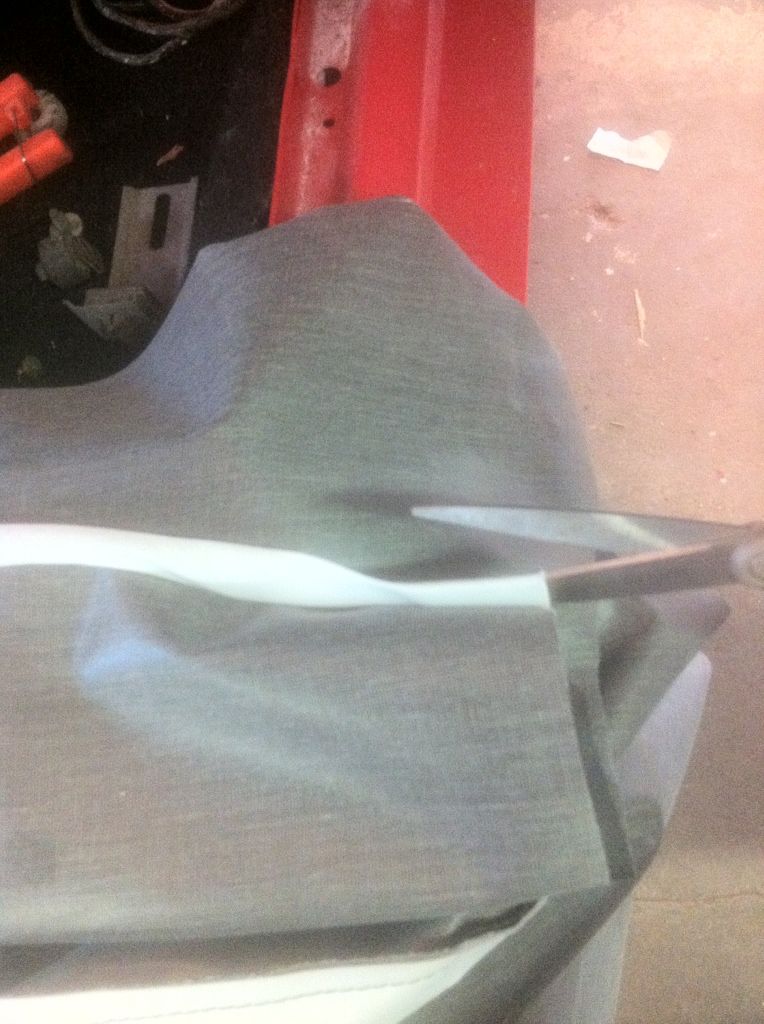
Once you have insulated everything to your satisfaction, you can begin inseting the headliner bows to your new headliner. You will need to evenly cut out parts of the bow sleeve ends. Leave enough room on both ends of the sleves to the point where the bows are just barely sticking out the sleeve.Trim both sides evenly! You may need to trim out more of the sleves once the bows are in place in order to free up the headliner a little and keep it from creasing up or binding up on you.
Install the bows, and flip them up in order to tension them up. Start from the rear, and work your way forward. REMINDER: The rear bow needs to have two rods that connect to the roof/lip of the car and the rear bow. Make sure these are in before you proceed.
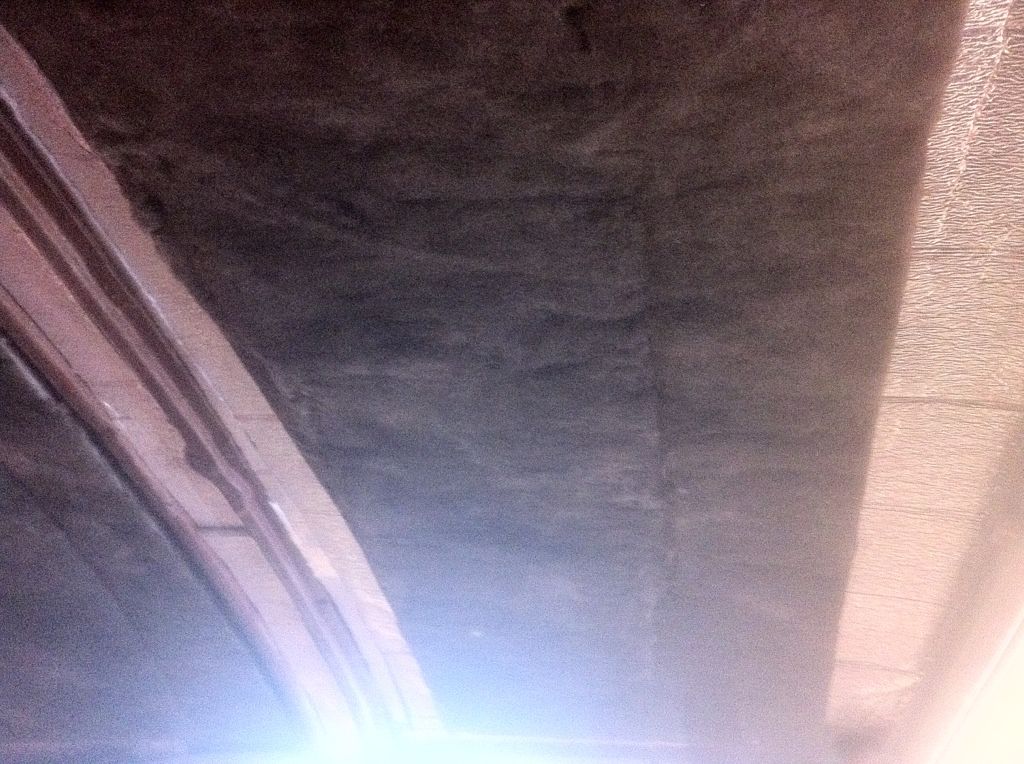
As shown below,A little more trimming will need to be done on the sleeves in order to smooth out and get rid of some wrinkles in the headliner. NOTE: all of the wrinkles wont come out, they will start going away when you begin putting tension and gluing the headliner in place so DO NOT overdo the cutting on each sleeve end. Tip from MWM on getting rid of wrinkles: "set the headliner out in the sun for a while"
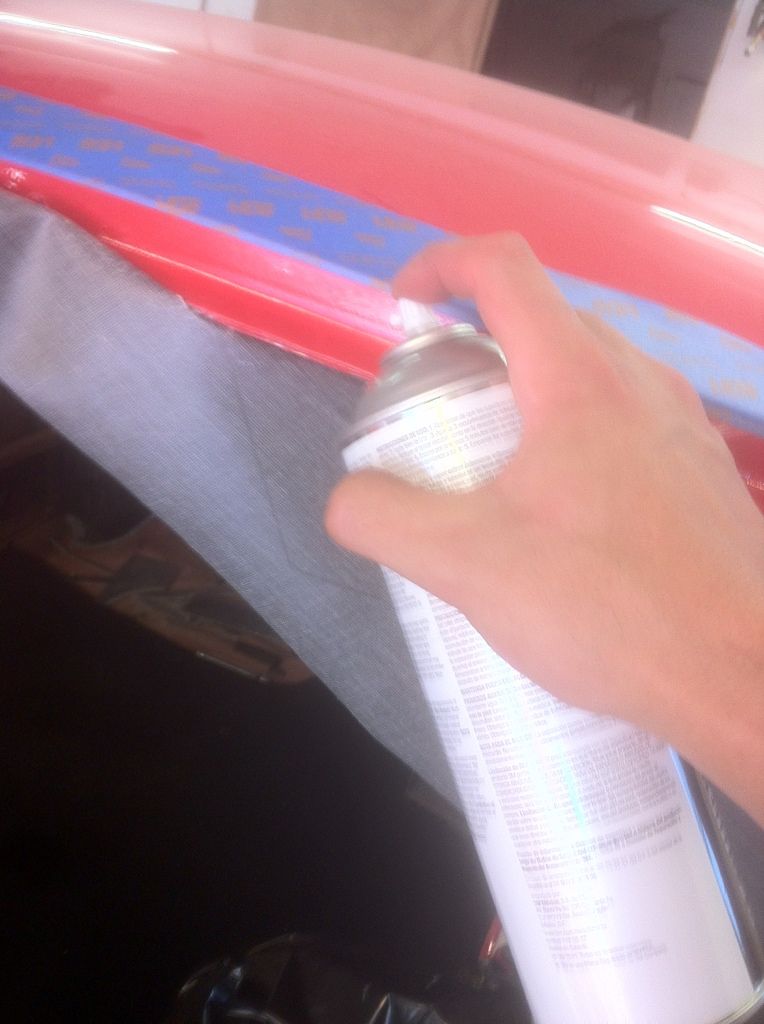
Begin gluing the headliner from the front center of the car. Work your way evenly on both sides of the car while tensioning, gluing, and using your Binder clips or windlace to seal the headliner to the roof edge. Make sure to not get stingy with your adhesive. I sprayed adhesive on the headliner and both top and bottom edges of the roof edge to give it a good seal. Use your tape to prevent the adhesive from spraying on the body of you car..
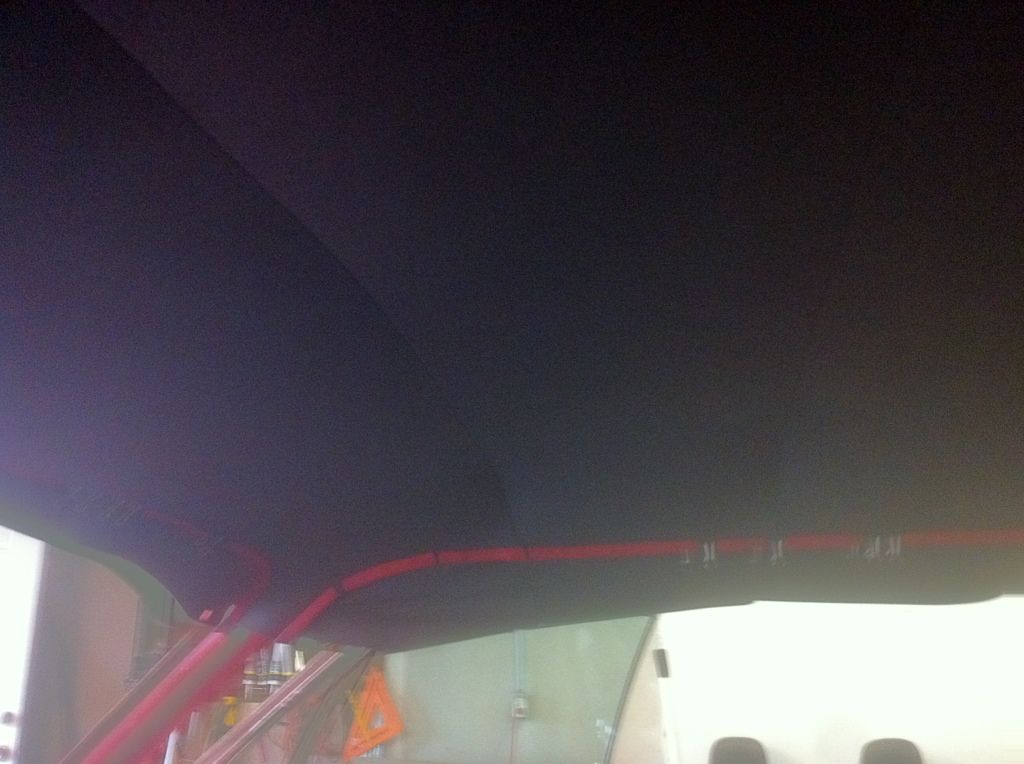
If you work evenly around the car, you will see that the wrinkles start going away. Make sure the headliner does not droop, Tension that sucker up! But Not overly excessively,Or you will tear it, But just enough to where the wrinkles come out. Also, notice the way the windlace and Binder clips work well. Cut the windlace up in small parts. This will make it easier to tension the headliner and lock them in place.
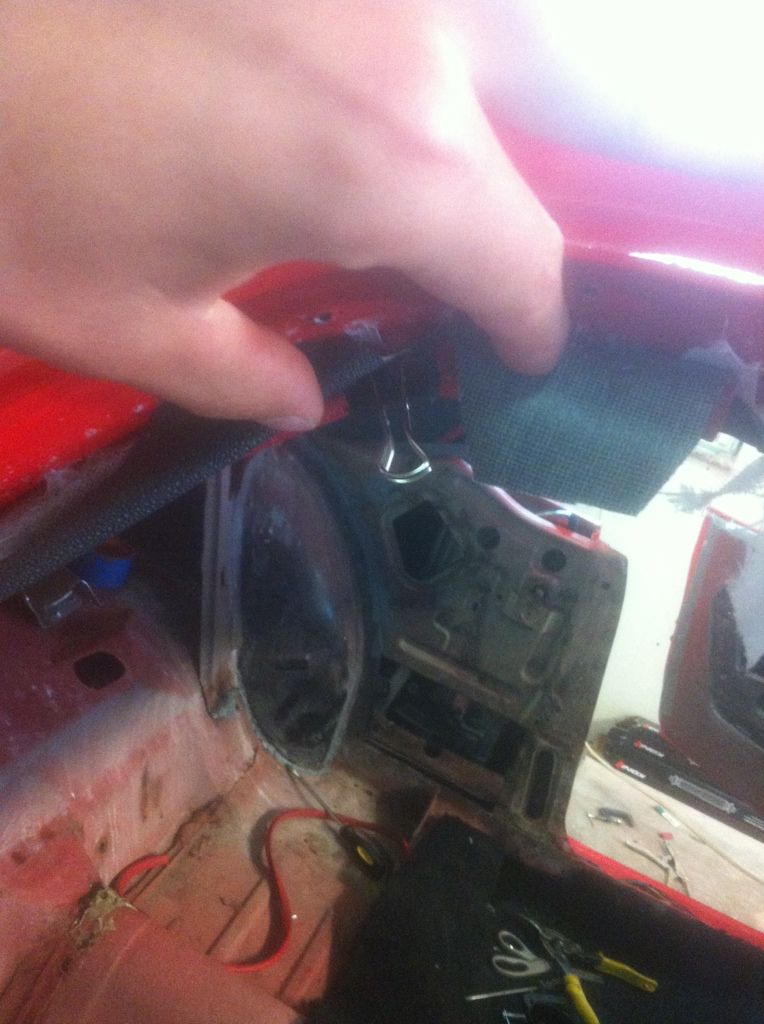
The trickiest parts to work around are the rounded edges. You need to cut small slits in in order to get the headliner tensioned evenly. You will find it necessary to make these slits on the front top edges of the roof, The rear side quarter roof line( Where the top of the quarter window meets), and the Top rear roof edge(pics below). You have to be absolutely careful when making these slits. If you cut too much, you will rip it and have to start all over. I cant express enough on taking your time. If you take your time, check what you are doing, You will be perfectly fine.
rear quarter roof line where you have to make a slit on both sides(Evenly)
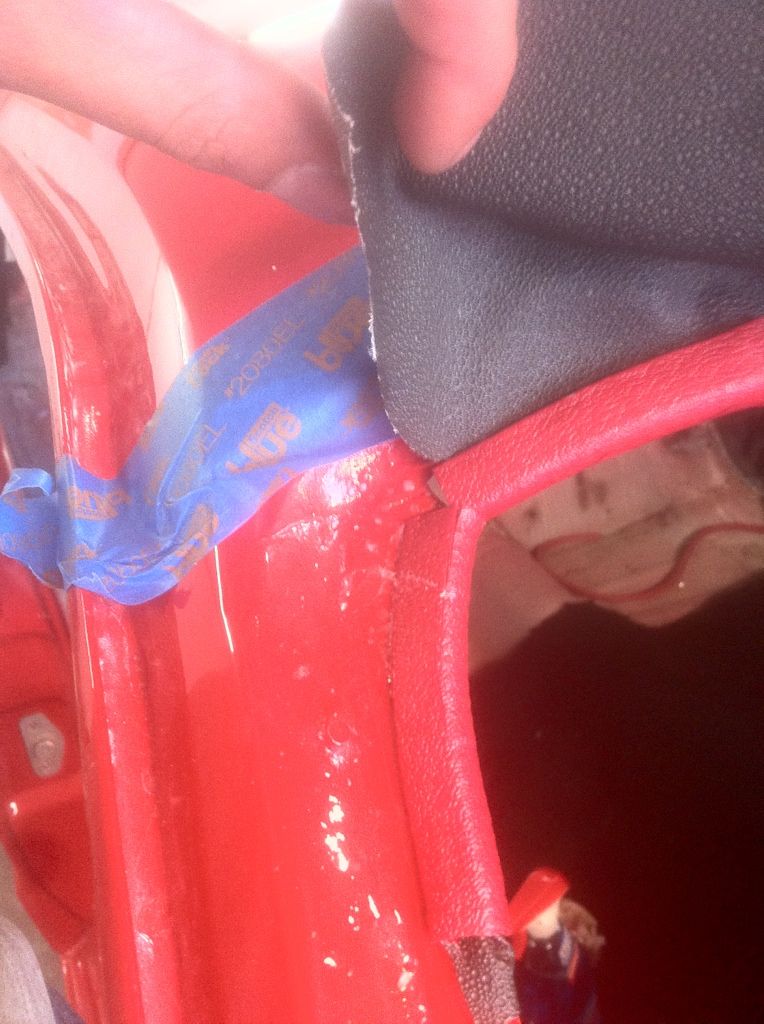
Already trimmed here, top front roof edge. Very little room to play with as you can see.
Rear top roof edge:
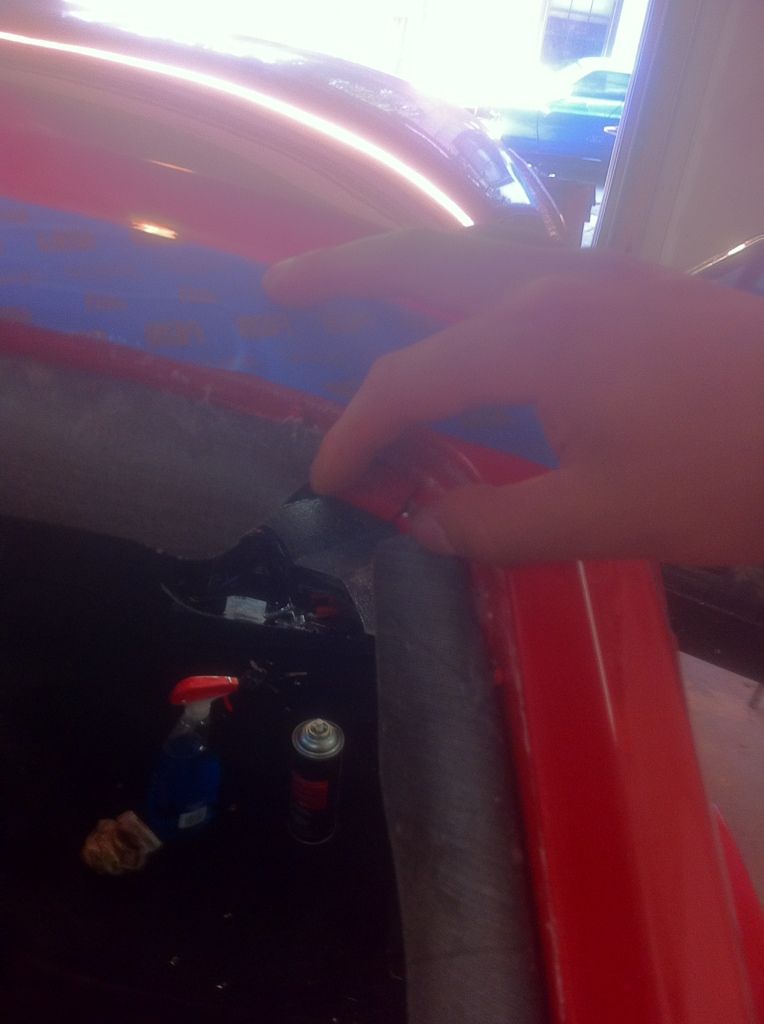
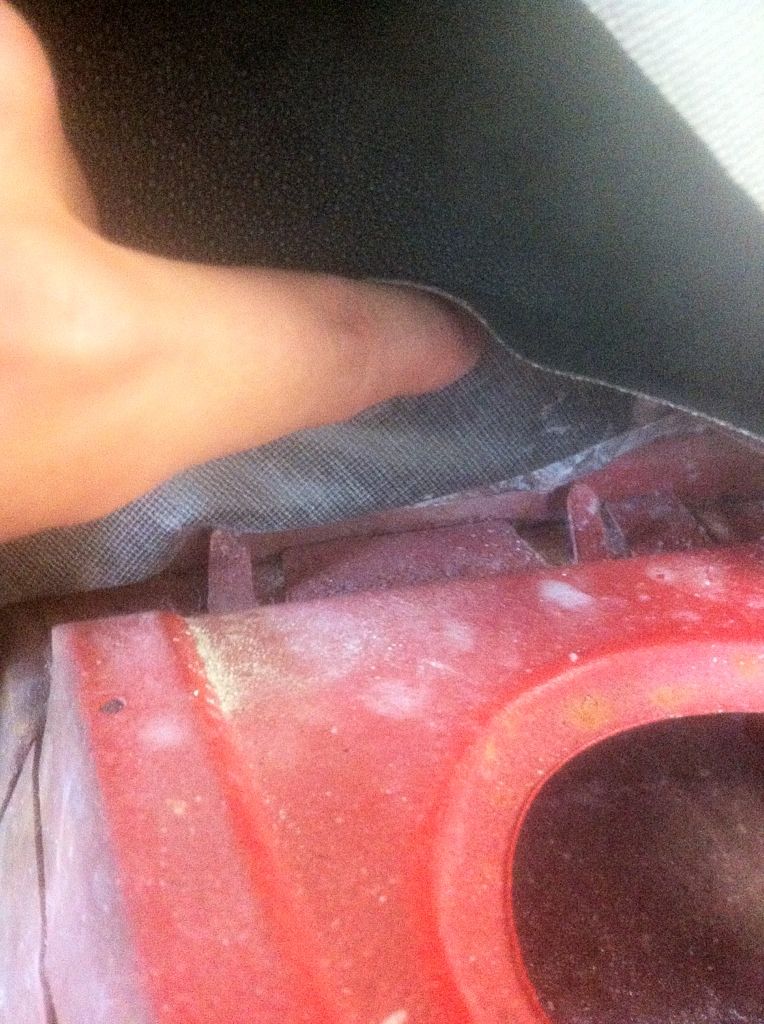
Once all of your edges are tensioned up and glued in, lock down the lower portion of the rear headliner with the little teeth sticking out located right above your rear wheel house.
On this part of the headliner, the cars typically came with a hard cardboard cutout that tensions up the rear lower part of the headliner with the two raised notches seen here. If yours are already trashed, you can always make your own.
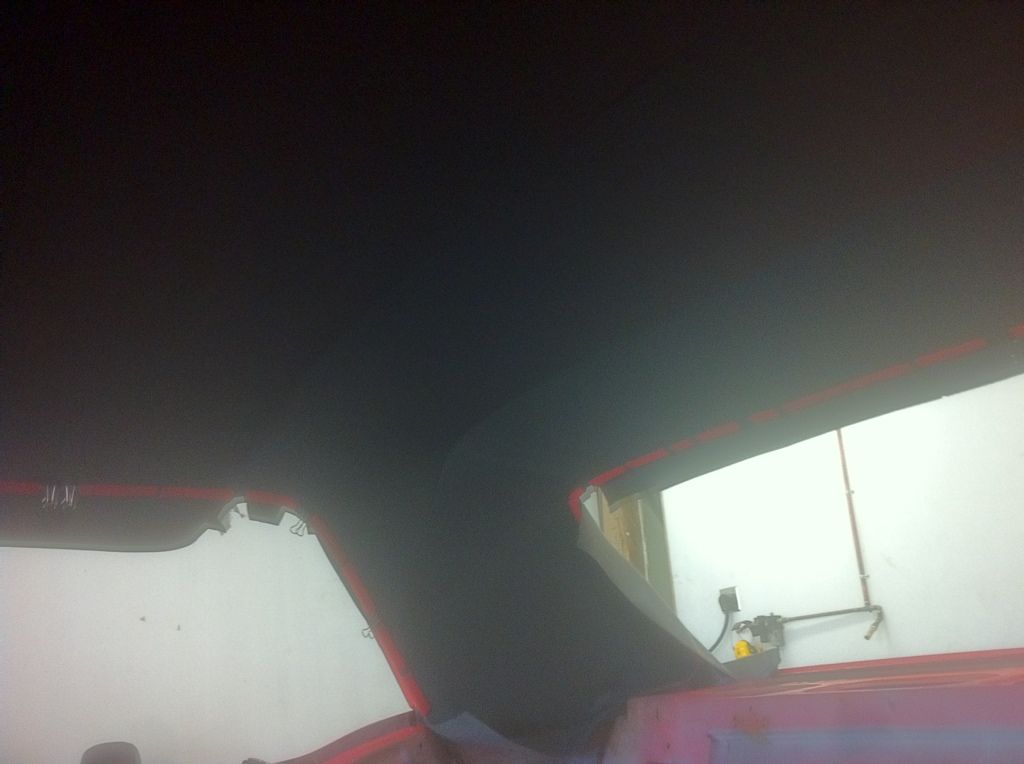
If you follow these steps carefully and take your time, You will have professional results in the end! Be Patient! Let glue cure for atleast 24 hours.
I hope this can be of help to anyone that may need this tutorial. This is my way of doing the installation. I found it easy to do it this way. However,Others may have a preferable way of going about this installation. Pardon for the low quality pictures, only have an iphone as a source to take my pics
Max time this installation took: 3-4 hours.
If you have any questions or need help, make sure to post them on the forum!
Shout out to MWM for sharing some tips he shared with me for this installation and Mustangsteve for encouraging me to do it myself as always.
Thanks Dudes!
-Ramses
Last edited by Ramses (7/27/2013 3:16 PM)

 1 of 1

 wsinsle wrote: