FYI FORD - MustangSteve's Ford Mustang Forum
The Internet's Most Knowledgeable Classic Mustang Information
IF YOU HAVE A QUESTION ABOUT CLASSIC FORD MUSTANGS, YOU HAVE COME TO THE RIGHT PLACE!
MustangSteve has over 30 years of Mustang experience, having owned 30 of them and restored several others. With the help of other Mustangers, this site is dedicated to helping anyone wanting to restore or modify their Mustang.... THERE ARE NO DUMB QUESTIONS!!!!!
Visit MustangSteve's web site to view some of my work and find details for:
FYIFORD Contributors' PICTURES - Power Brake Retrofit Kits for 65-66 Stangs - Classic Mustang FAQ's by MustangSteve - How to wire in a Duraspark Ignition - Mustang Ride Height Pictures and Descriptions - Steel Bushings to fit Granada Spindles to Mustang Tie Rods - Visit my EBAY store MustangSteve Performance - How to Install Granada Disc Brakes MustangSteve's Disc Brake Swap Page - FYIFORD Acronyms for guide to all the acronyms used on this page - FYIFORD Important information and upcoming events

You are not logged in. Would you like to login or register?

9/23/2020 3:37 PM  #1


Home made cam bearing tool

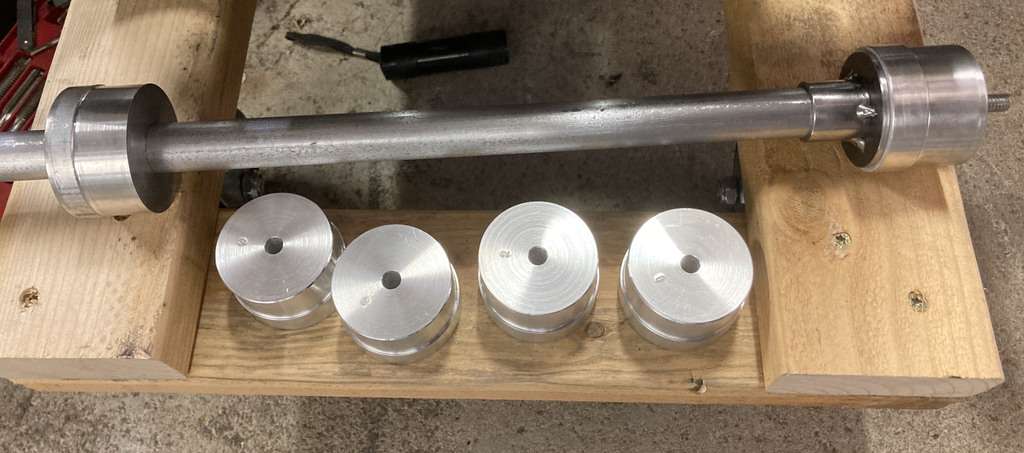
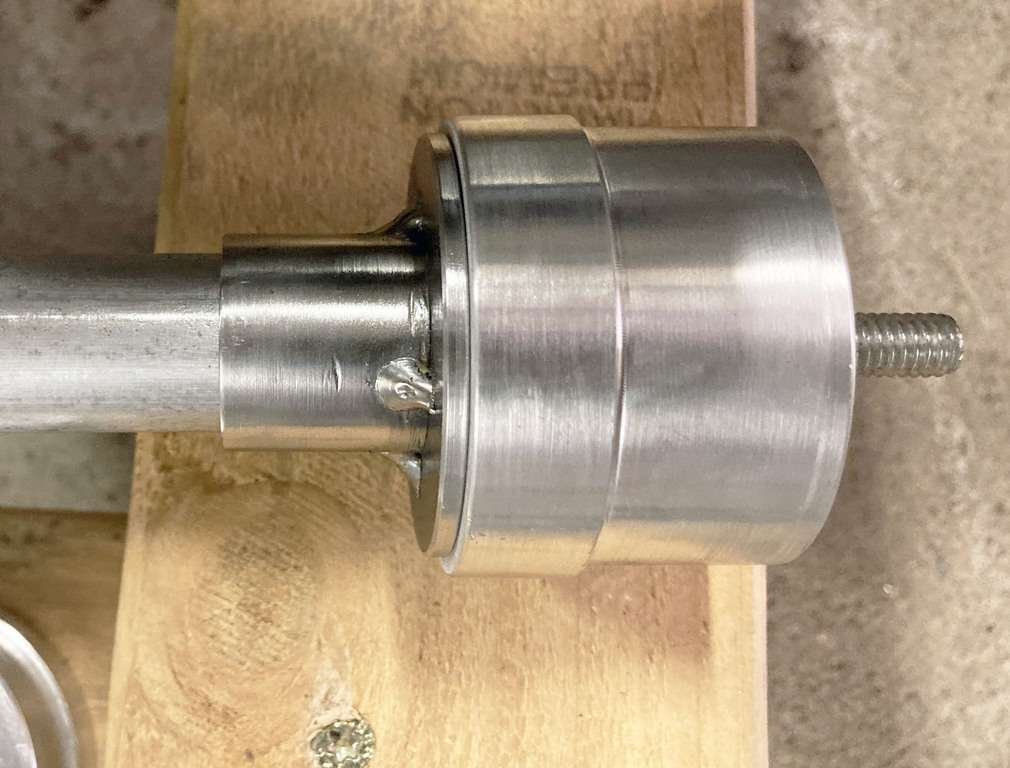
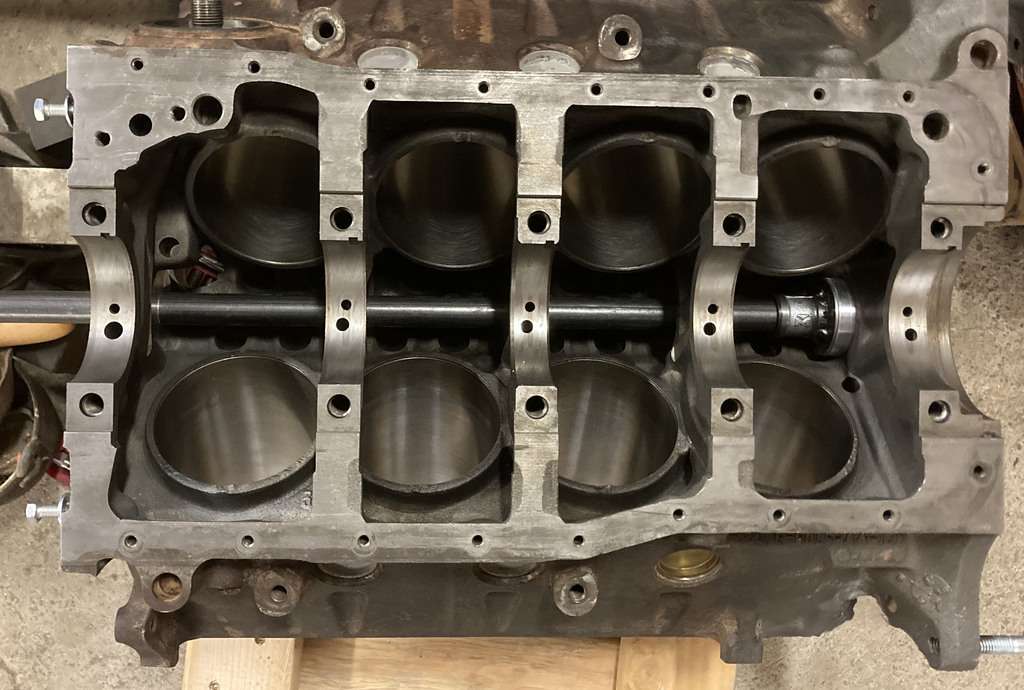
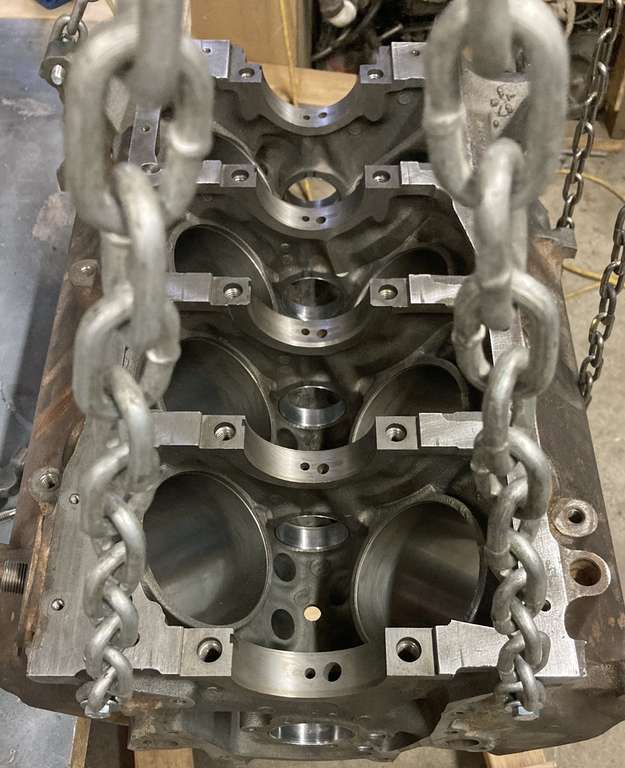
This 351W project has me messing with all kinds of stuff.  when I tore the engine down I threw together a quick a dirty tool to get the bearings out but I wanted something more professional to install the new bearings so as not to damage them.  Most of the tools on the market were either Chevy specific or universal... in other words "one size fits none"  I was about to give up and buy a universal tool when I found a video on youtube of a guy using a SBF specific cam tool with 5 pucks and a cone. (for those of you that don't know each cam bearing from the front to the back gets about .015" smaller than the one before it)  I new immediately that that was the tool I wanted even at $160.00 BUT I could not find one.  Every site that had them for sale listed them as "out of stock"   Not one to take no for an answer I decided to make my own.  I started by measuring all 5 bearing journals in the block then measured the bearing lobes on a cam.  I used the cam measurements rather then measuring the inside of the actual bearings because I figured the bearings might compress slightly due to the press fit once installed and I wanted to have a size that I knew could easily be removed from an installed bearing.  I then took a piece of 2.25" aluminum round stock cut it up into 6 pieces so I could machining them.  The first one replaces the cone and fits in the #1 journal without a bearing.  It has a hole in it to center the shaft when driving in bearings 5-2.  I machined the 5 bearing pucks biggest to smallest that way if I messed up and cut one too small it could be used for the next size down.  That turned out to be a good plan as I cut to much off of puck 3 which is now puck 4.  I then fabricated a steel cap that bolts to each puck and that the rod slides into, that way the head of the tool is removable to make it easier to use.  I am very happy with the result.  Did a test run with one of the old bearings and all worked as it should.  The entire project took me about 8 hours start to finish so with the $160 price of the one I wanted I was "paid" $20 an hour to make my own.  Not the best wage ever but it was a lot of fun.  

"Find a job you enjoy and you will never work a day in your life"


If it isn't broken...modify it anyway! http://www.DazeCars.com https://galaxieforum.boardhost.com
 

9/23/2020 6:40 PM  #2


Re: Home made cam bearing tool

Perfect!
It must be nice to have a tool specific to the job at hand.

One thing I have learned through quite a few rebuilds...  ALWAYS install the cam bearings and cam as THE VERY FIRST THING YOU DO.

There is nothing like installing crank, rods, pistons, rings only to find a cam bearing needs to be adjusted so the camshaft will spin freely.  I stand the block on end and slide the oiled cam in from the top using a long 3/8” bolt as a handle, screwed into the timing sprocket bolt hole.  If it spins easy, the build can progress.  If not, a bearing might have to get a burr shaved off, and that requires cleaning the entire block again, which is impossible with the reciprocating assembly in there.


Money you enjoy wasting is NOT wasted money... unless your wife finds out.
 

9/24/2020 7:53 AM  #3


Re: Home made cam bearing tool

Believe it or not I found a box full of cam bearing pucks for Windsor & Cleveland and others I don't know along the roadside during spring cleanup some years back.

One mans junk is other mans treasure


9/24/2020 9:23 AM  #4


Re: Home made cam bearing tool

Great Tool :-)


9/24/2020 2:07 PM  #5


Re: Home made cam bearing tool

That is a great tool. Why buy when you can make your own. Great work! Are the bushings steel or aluminum?

Last edited by RV6 (9/24/2020 2:08 PM)


Gary Zilik - Pine Junction, Colorado - 67 Coupe, 289-4V, T5
 

9/24/2020 5:54 PM  #6


Re: Home made cam bearing tool

The only thing that is steel is the rod and the head flange the aluminum pucks bolt too.


If it isn't broken...modify it anyway! http://www.DazeCars.com https://galaxieforum.boardhost.com
     Thread Starter
 

9/24/2020 7:42 PM  #7


Re: Home made cam bearing tool

Great work!  I finally bought a mini lathe and a mini mill myself recently  You could make lots of things!  One of the things I have been thinking about trying to make is hole dimplers.


If multiple things can go wrong, the one that will go wrong will be the one that causes the most damage.
 

9/24/2020 9:53 PM  #8


Re: Home made cam bearing tool

Great job, I’ve been machining for over 40 years and have made many of these for pals, good job

Last edited by 6568 (9/25/2020 8:15 PM)


9/25/2020 10:28 PM  #9


Re: Home made cam bearing tool

Bearings are in!!!

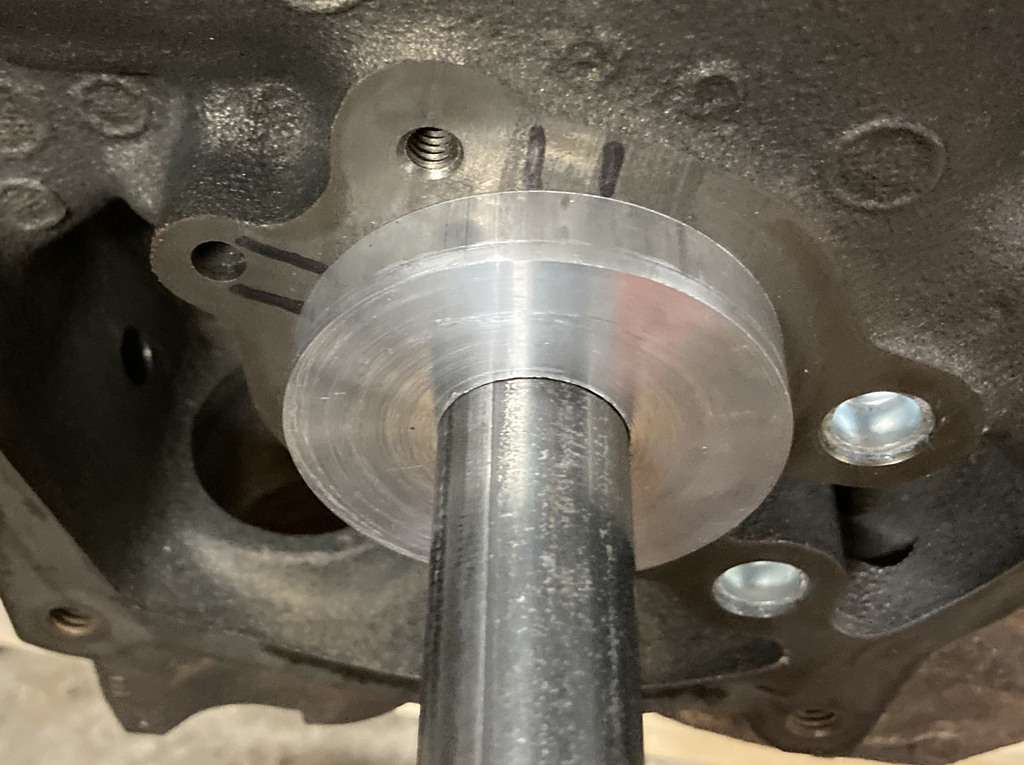
Tool worked amazingly well.  I am so glad I built a Ford specific tool based off of cam measurements as it allowed me to see an issue before I test fit the cam.  Bearings 5-4 went in with no problem and the driver slid out without issue after the install.  On bearing 1 however the puck was tight after installing the bearing and I had to push it out with my hand.  This told me the cam would also be tight and as expected when I test fit the cam bearing 1 had two little high spots that needed to be dealt with.  Once smoothed off the cam turned as it should. MS your advice as usual was spot on.

MS wrote:

One thing I have learned through quite a few rebuilds... ALWAYS install the cam bearings and cam as THE VERY FIRST THING YOU DO..... If not, a bearing might have to get a burr shaved off, and that requires cleaning the entire block again, which is impossible with the reciprocating assembly in there.

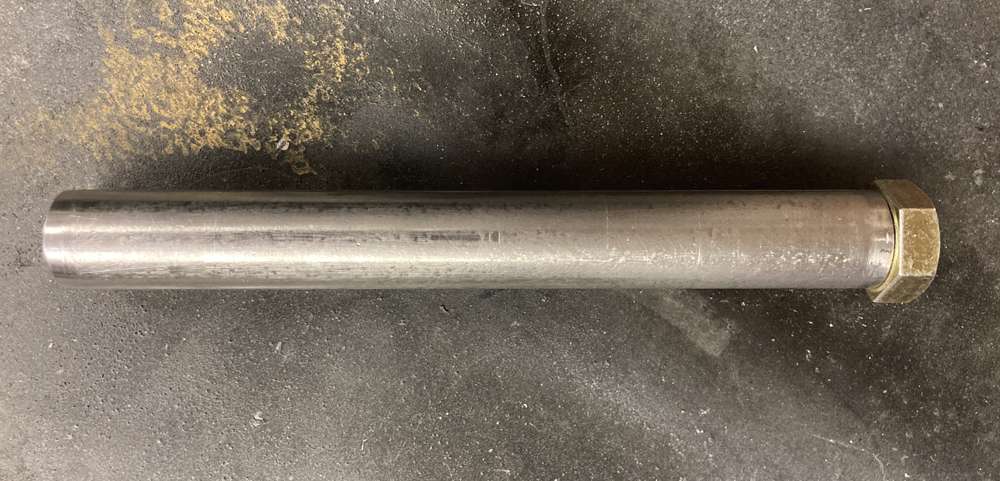
I did make two modifications to the tool.  I cut an 8" piece off of the shaft so that the main shaft was shorter and so that I had a smaller driver handle to install bearing 1.  I also wanted a hardened steel cap on the hammering end of both drivers.  After thinking of lots of different options, including welding a cap plate or cutting a handle off of a punch I finally decide a 5/8" grade 8 bolt would be a perfect solution.


If it isn't broken...modify it anyway! http://www.DazeCars.com https://galaxieforum.boardhost.com
     Thread Starter
 

Board footera


REMEMBER!!! When posting a question about your Mustang or other Ford on this forum, BE SURE to tell us what it is, what year, engine, etc so we have enough information to go on.