FYI FORD - MustangSteve's Ford Mustang Forum
The Internet's Most Knowledgeable Classic Mustang Information
IF YOU HAVE A QUESTION ABOUT CLASSIC FORD MUSTANGS, YOU HAVE COME TO THE RIGHT PLACE!
MustangSteve has over 30 years of Mustang experience, having owned 30 of them and restored several others. With the help of other Mustangers, this site is dedicated to helping anyone wanting to restore or modify their Mustang.... THERE ARE NO DUMB QUESTIONS!!!!!
Visit MustangSteve's web site to view some of my work and find details for:
FYIFORD Contributors' PICTURES - Power Brake Retrofit Kits for 65-66 Stangs - Classic Mustang FAQ's by MustangSteve - How to wire in a Duraspark Ignition - Mustang Ride Height Pictures and Descriptions - Steel Bushings to fit Granada Spindles to Mustang Tie Rods - Visit my EBAY store MustangSteve Performance - How to Install Granada Disc Brakes MustangSteve's Disc Brake Swap Page - FYIFORD Acronyms for guide to all the acronyms used on this page - FYIFORD Important information and upcoming events

You are not logged in. Would you like to login or register?

9/06/2013 5:10 PM  #1


Drip rail repair

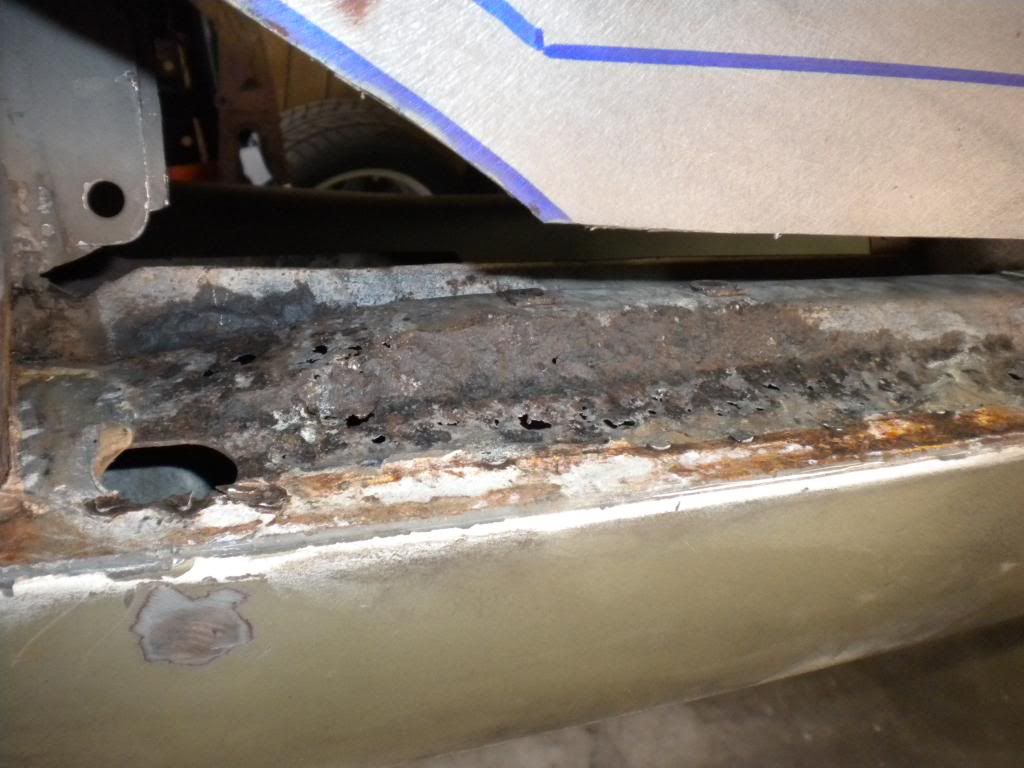
I decided to try and repair my drip rails instead of shaving them,  I figured if I shaved them it would hurt the value on my 67 fastback and may cause some other issues down the road if driving in the rain.

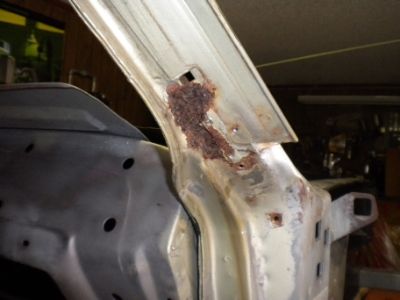
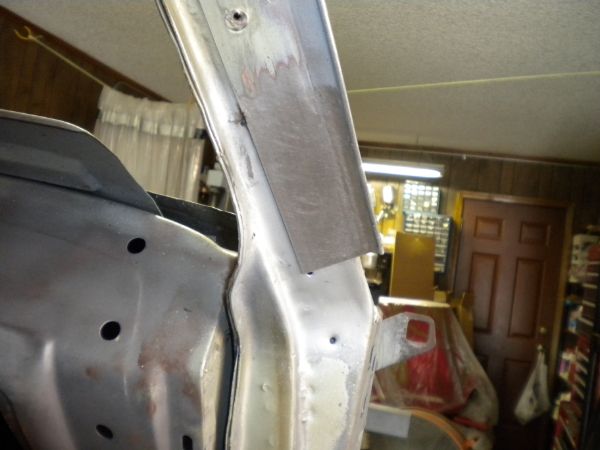
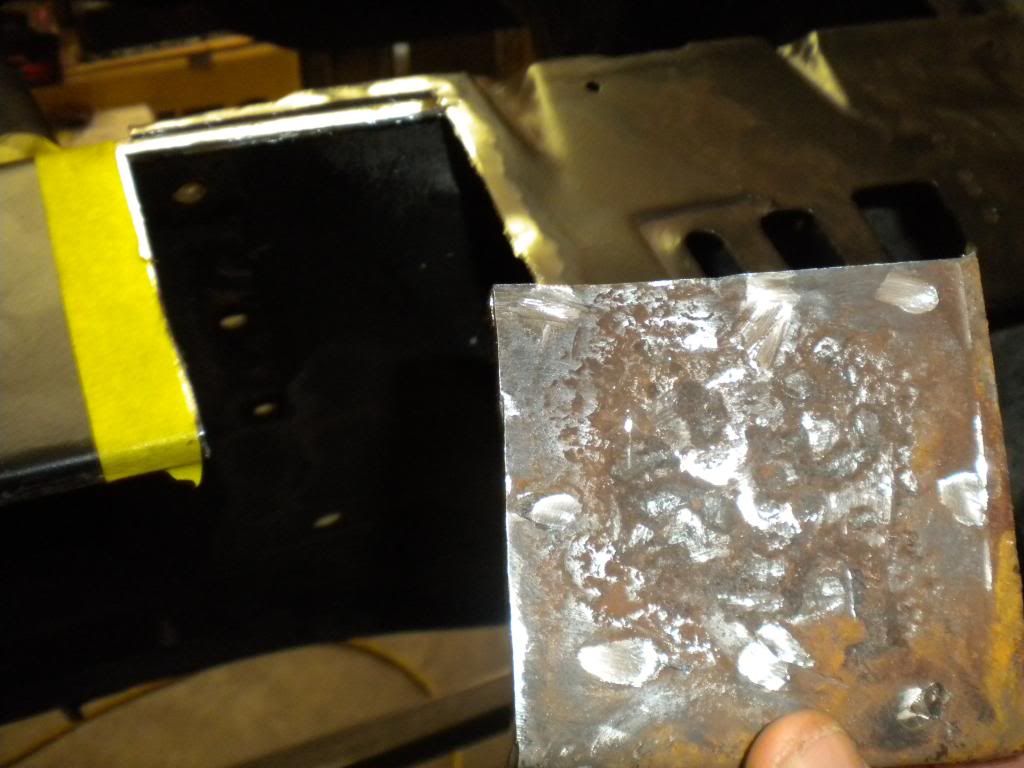
Here are a couple pics of the passenger side.  The driverside was worse but both are repaired now This is a before.

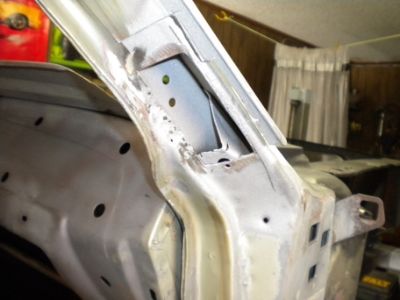
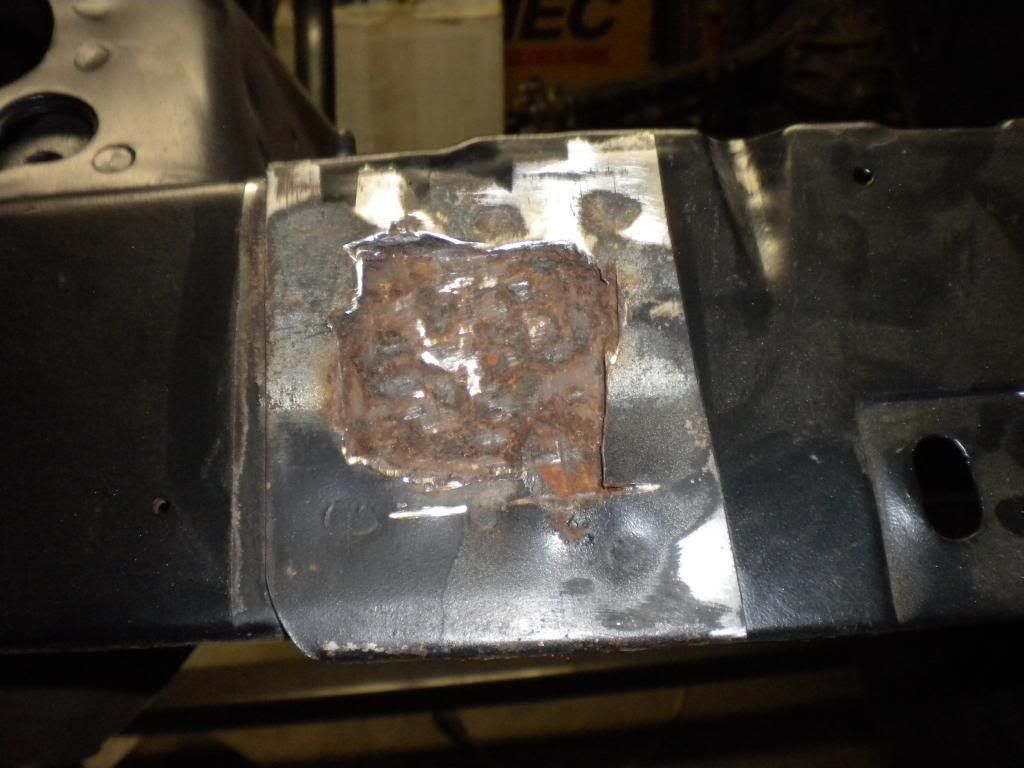
Top layer and bottom layer of bad metal remove.

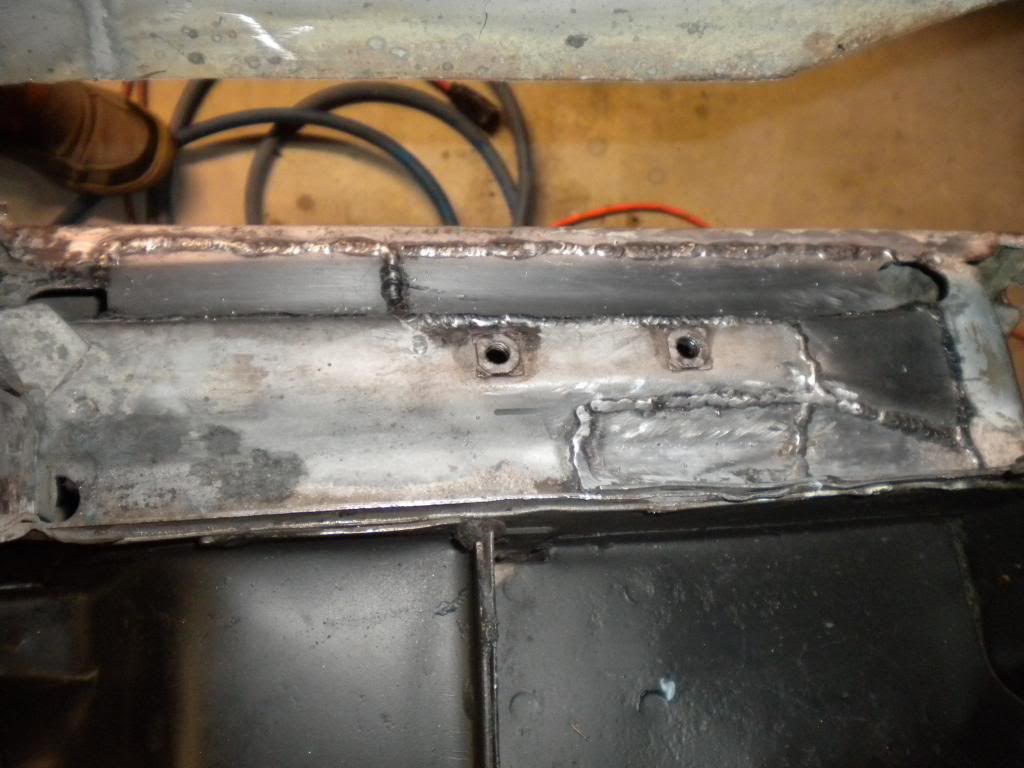
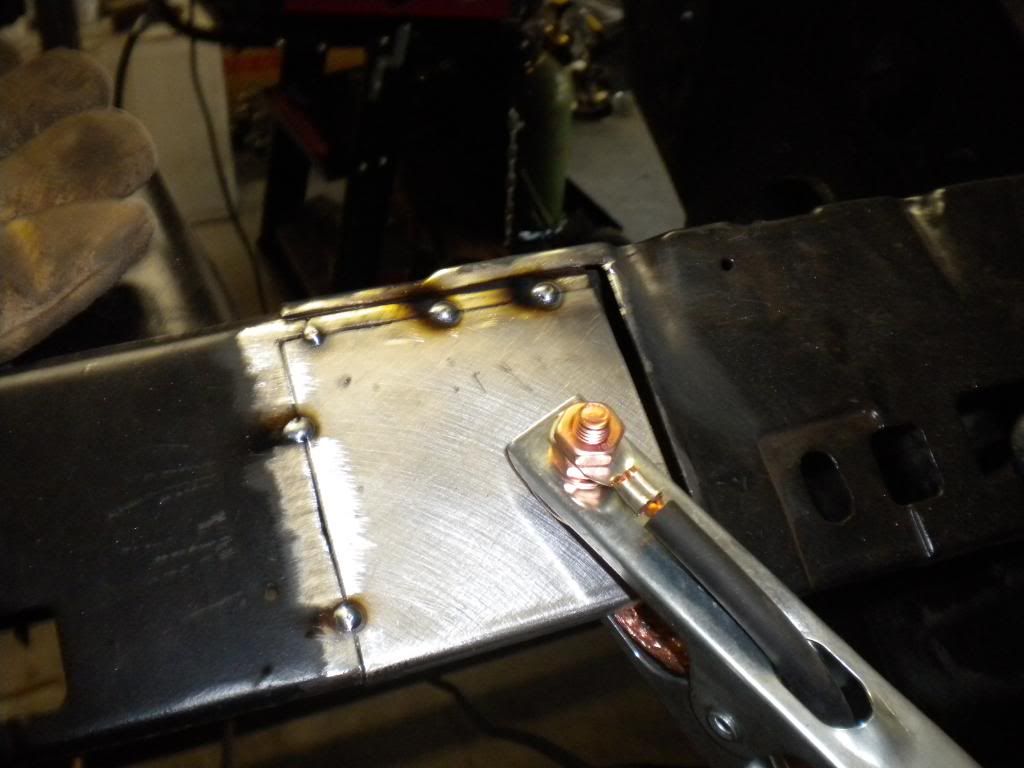
Bottom layer fit and tacked in.


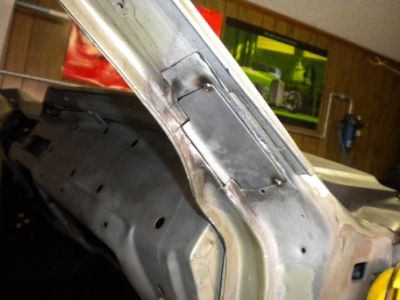
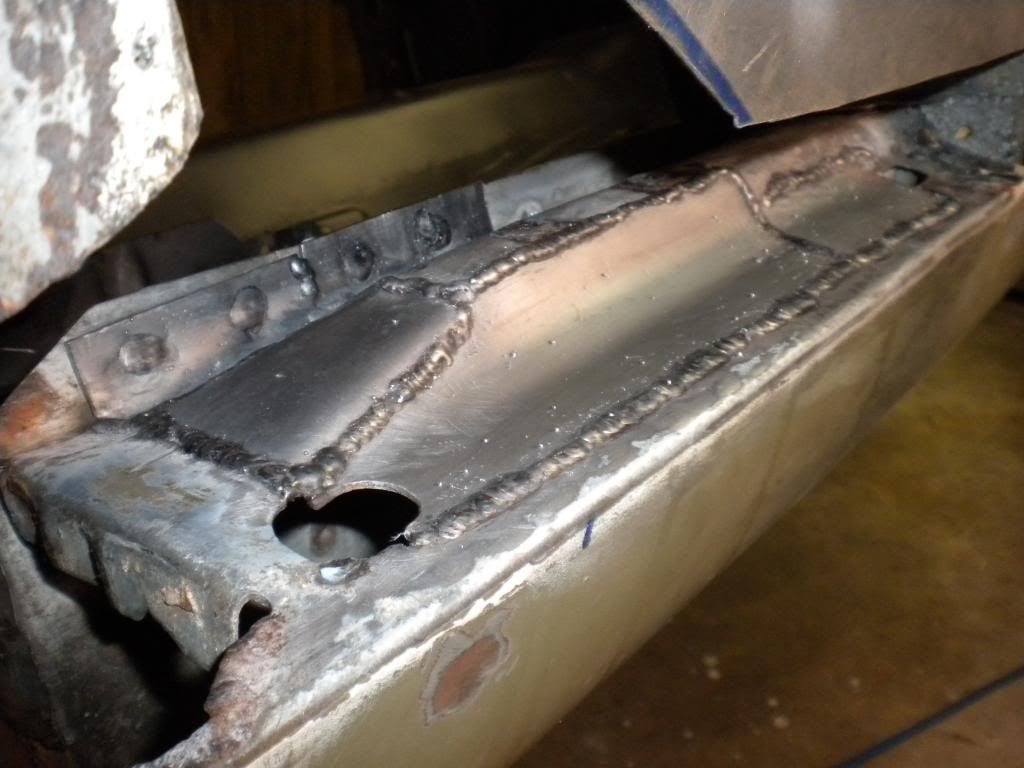
Top layer being replaced. Plug welded to new jamb area and butt welded down the drip rail channel.

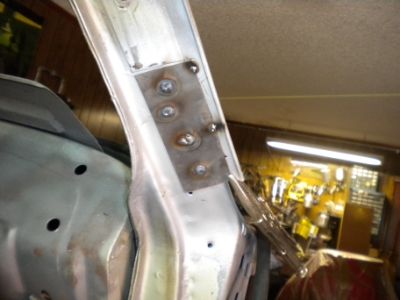
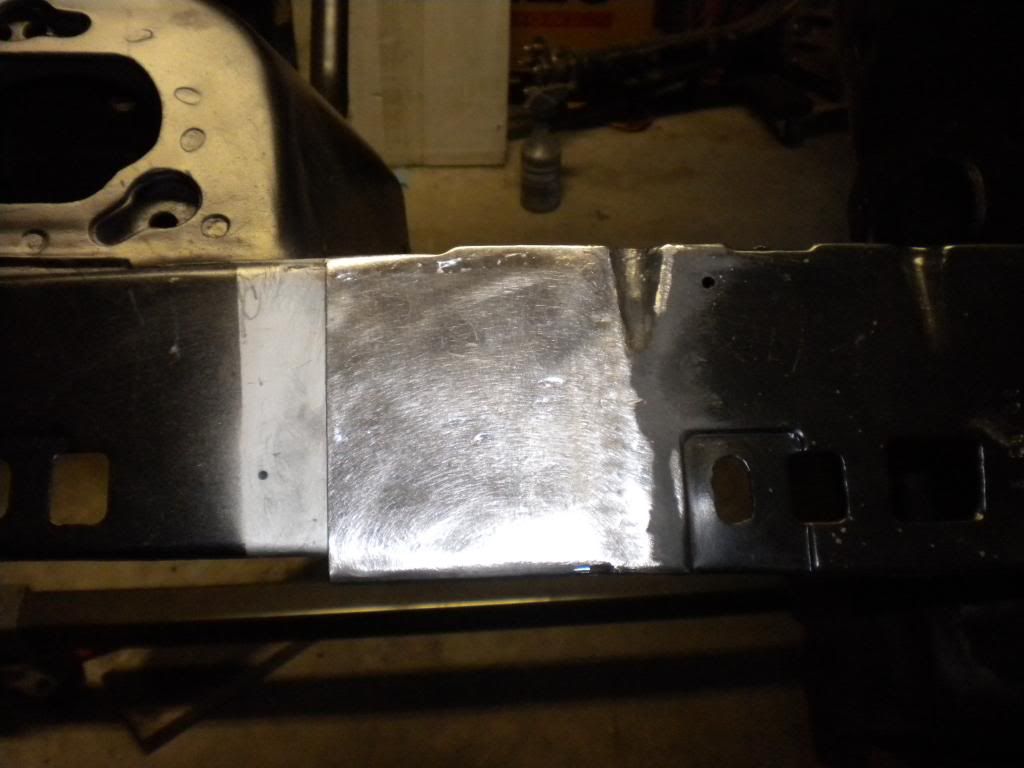
Here all welds ground down and ready for primer.
The driverside was much worse but it has been fixed as well all replacement pieces were butt welding in.,


9/06/2013 5:15 PM  #2


Re: Drip rail repair

Very nice work. 

BB


"you get what you pay for, good work isn't cheap, and there are NO free lunches...PERIOD!"
 

9/06/2013 5:17 PM  #3


Re: Drip rail repair

Thanks, I have the car/shell on the rotissiere so I was able to rotate it upside down to weld th panels in instead of welding overhead which made this a lot easier.

     Thread Starter
 

9/06/2013 7:28 PM  #4


Re: Drip rail repair

BB had said the other day, "Jean's Mustang needed drip rail repair". BB nixed the bodyman's idea of shaving and settled for brass. Which I figgured to be brazing..
I think Mike's repair will even beat brazing.

Tubo


If it ain't broke, I haven't modified it Yet
 

9/06/2013 9:19 PM  #5


Re: Drip rail repair

Very nice job!


If this forum can't fix it, it isn't broke.
 

9/07/2013 6:07 AM  #6


Re: Drip rail repair

Nice job, I have this in my future to look forward to. I doubt I will have a rotisserie though.


67 Coupe, 5.0 EEC IV Fuel injected. T5, 3:70 rear
 

9/07/2013 9:42 AM  #7


Re: Drip rail repair

Tubo wrote:

BB had said the other day, "Jean's Mustang needed drip rail repair". BB nixed the bodyman's idea of shaving and settled for brass. Which I figgured to be brazing..
I think Mike's repair will even beat brazing.

Tubo

Yup Corky, that is better but he's working on a 67 and I think they are differnent.  I've seen the forward section of the 67 drip rail available from CJ, I think, but not so for the 65-66.  The problem I have is that just the very bottom of the  gutter part was rotted...not back under the door jamb where the upper roof seal rail goes.

The fix on our car is done and he did a very nice piece of work from what I can tell. 

BB

Last edited by Bullet Bob (9/07/2013 9:46 AM)


"you get what you pay for, good work isn't cheap, and there are NO free lunches...PERIOD!"
 

9/07/2013 6:50 PM  #8


Re: Drip rail repair

Thanks for posting this . I have the same problem in the exact same place on my 67 and was woundering how to deal with it .


11/04/2013 8:10 PM  #9


Re: Drip rail repair

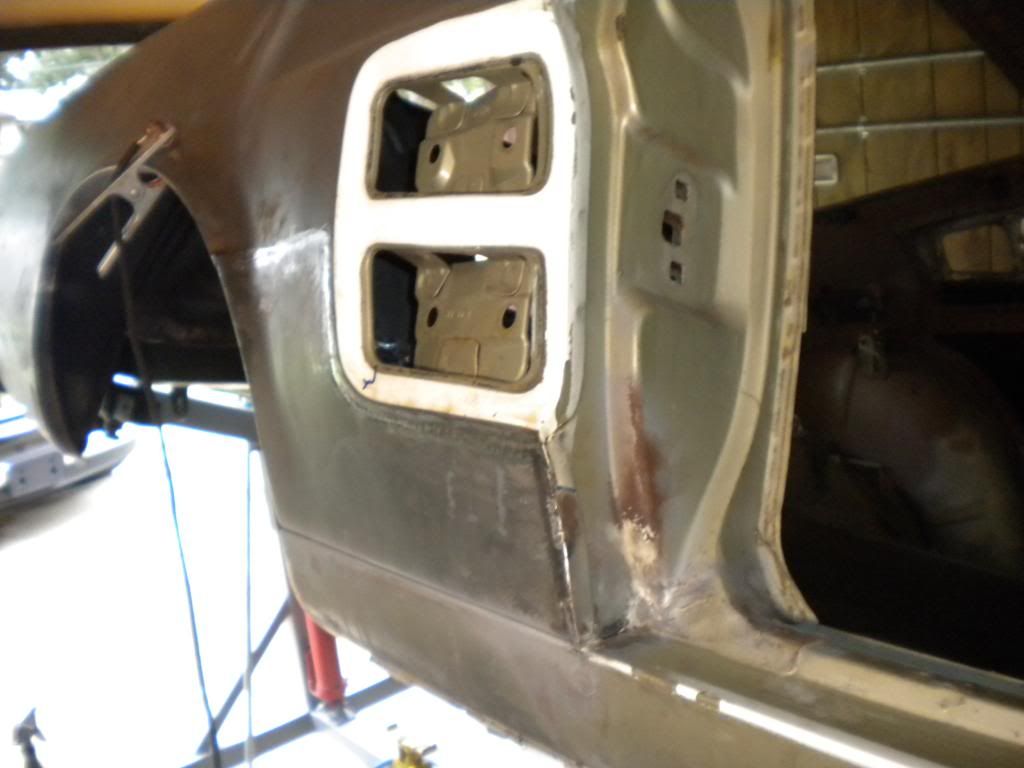
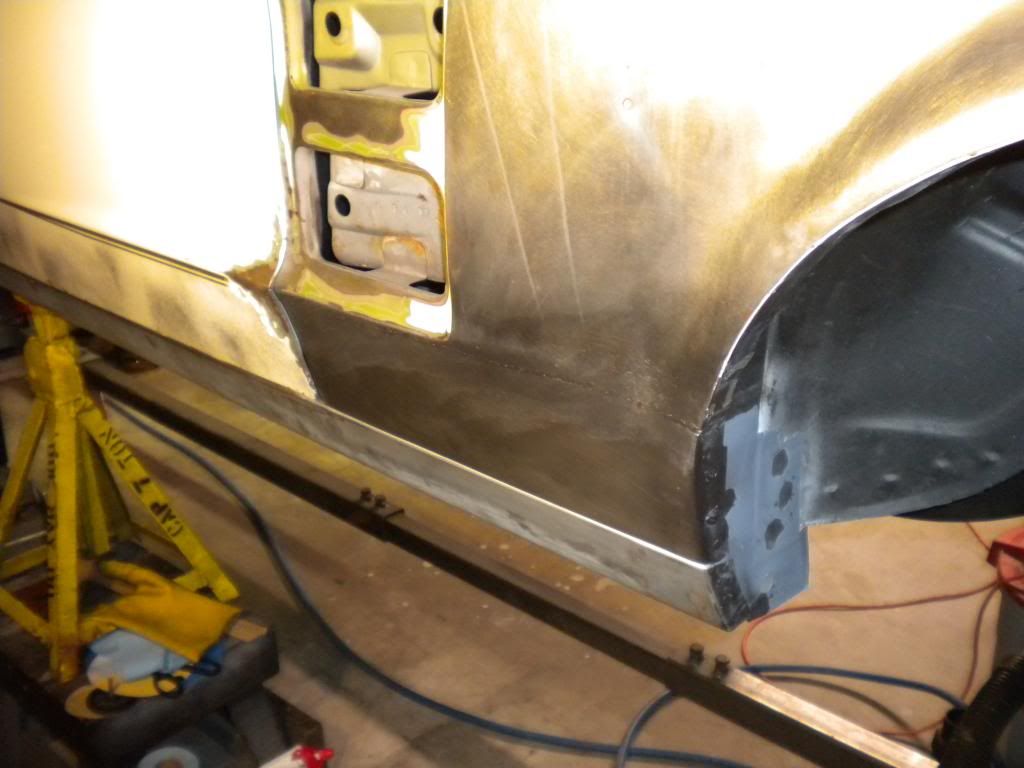
Replaced lower front portion of the passenger quarter panel.  I butt welded the panel in.  Still needs a little finish grinding.


     Thread Starter
 

11/04/2013 8:15 PM  #10


Re: Drip rail repair

Very nice!


65 mustang coupe, 351W, C6-  2800 stall, B&M blower, 9inch- trac-loc 3.70 gears
 

11/04/2013 8:16 PM  #11


Re: Drip rail repair

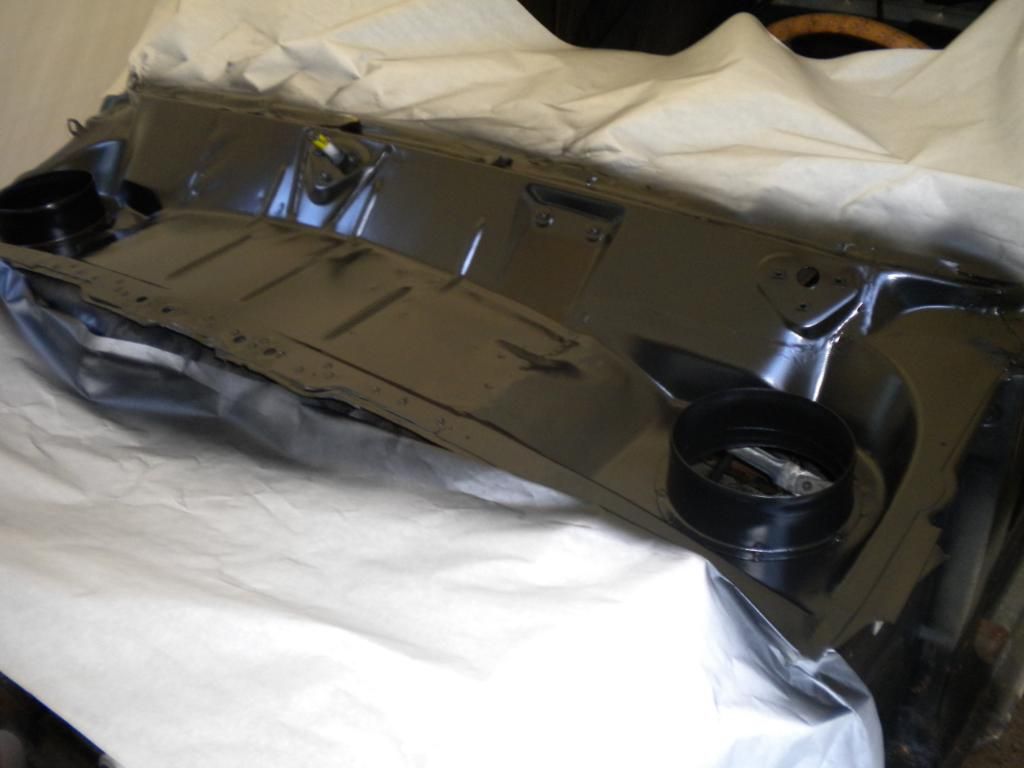
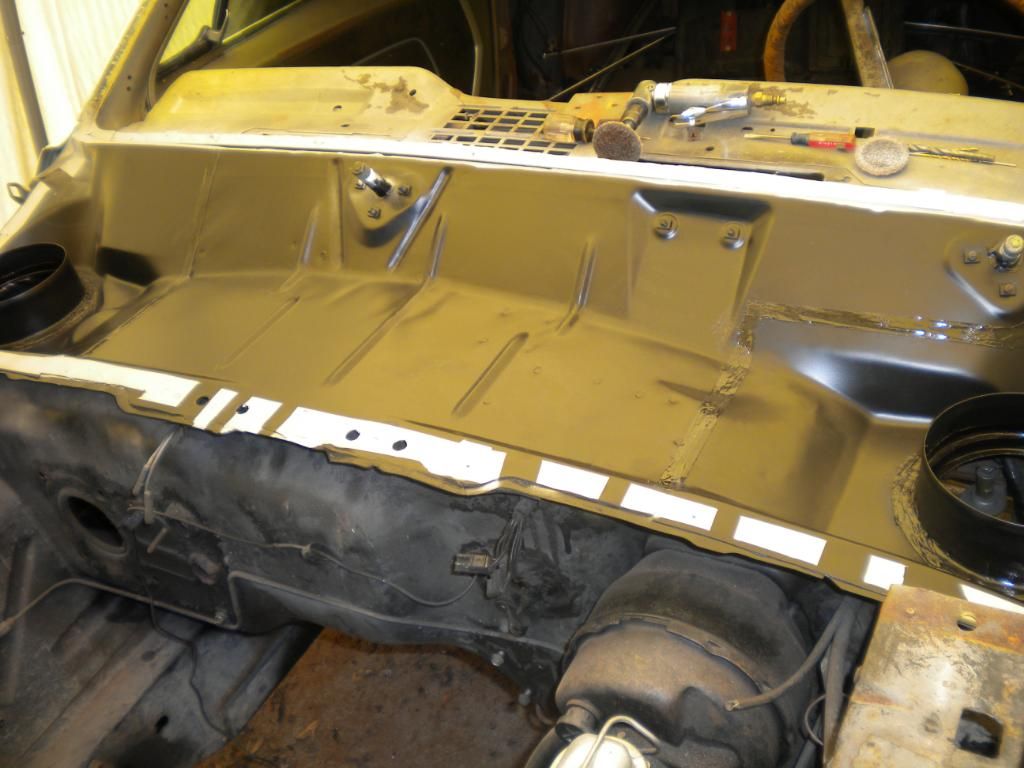
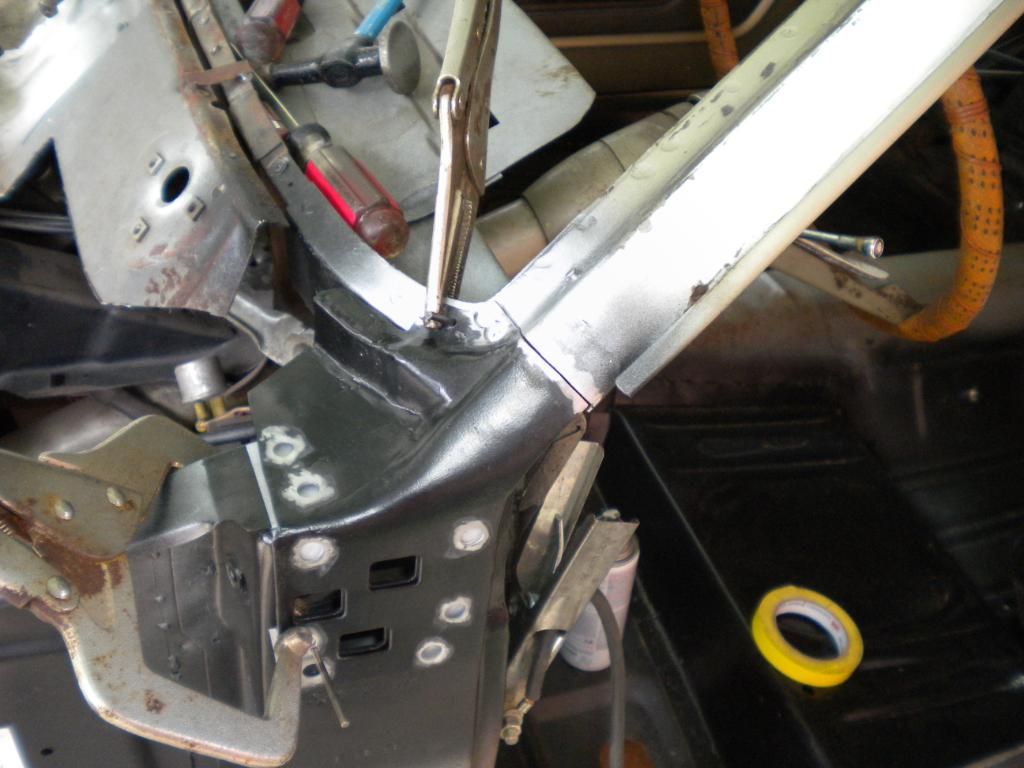
Third car I have replace the cowl vents. Both patches butt welded, epoxy primed and seam sealed and weld thru primer where it plug welds back to car.
Last edited by 1fststang (11/04/2013 8:18 PM)

     Thread Starter
 

11/04/2013 8:23 PM  #12


Re: Drip rail repair

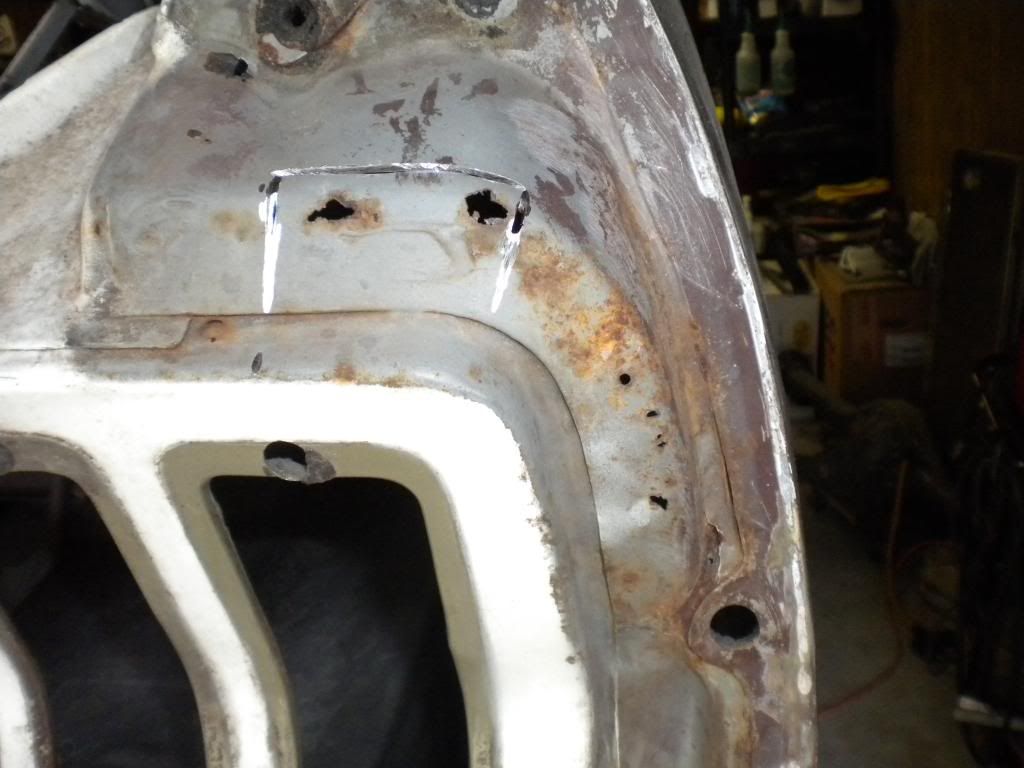
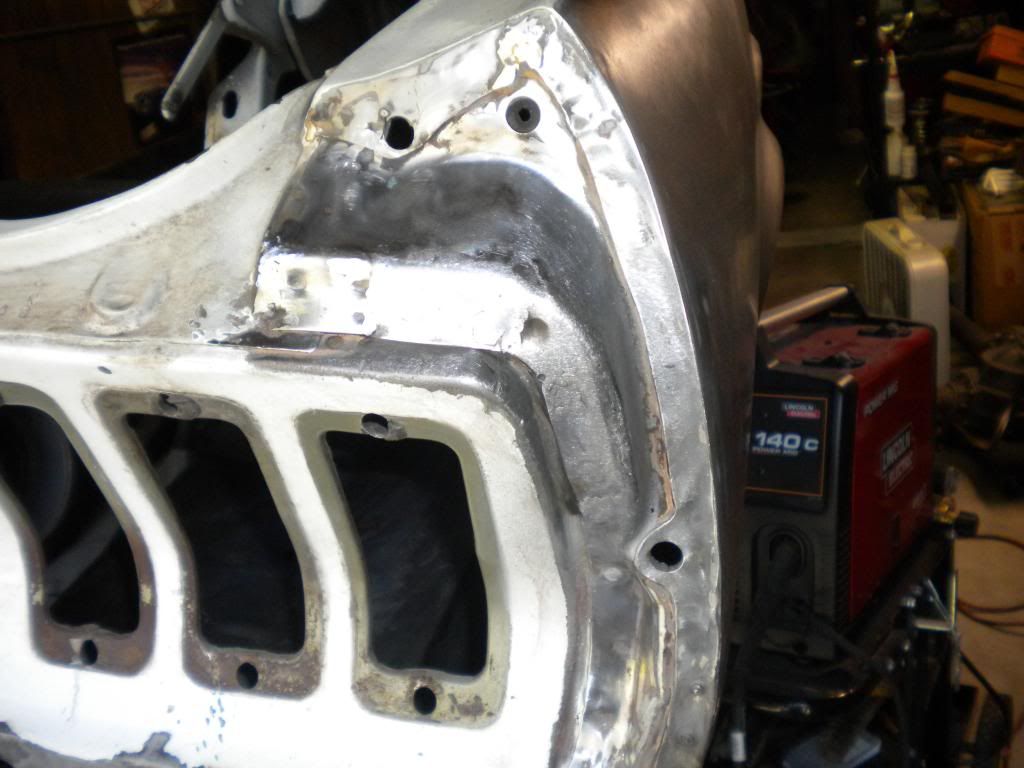
Had to fix lower a pillar area. Had a good amount of rust in this corner especially where the cowl vent overlaps. Seems the factory seam sealer failed and water got between the panels.  Had to make a couple pieces to fix this.

     Thread Starter
 

11/04/2013 8:34 PM  #13


Re: Drip rail repair

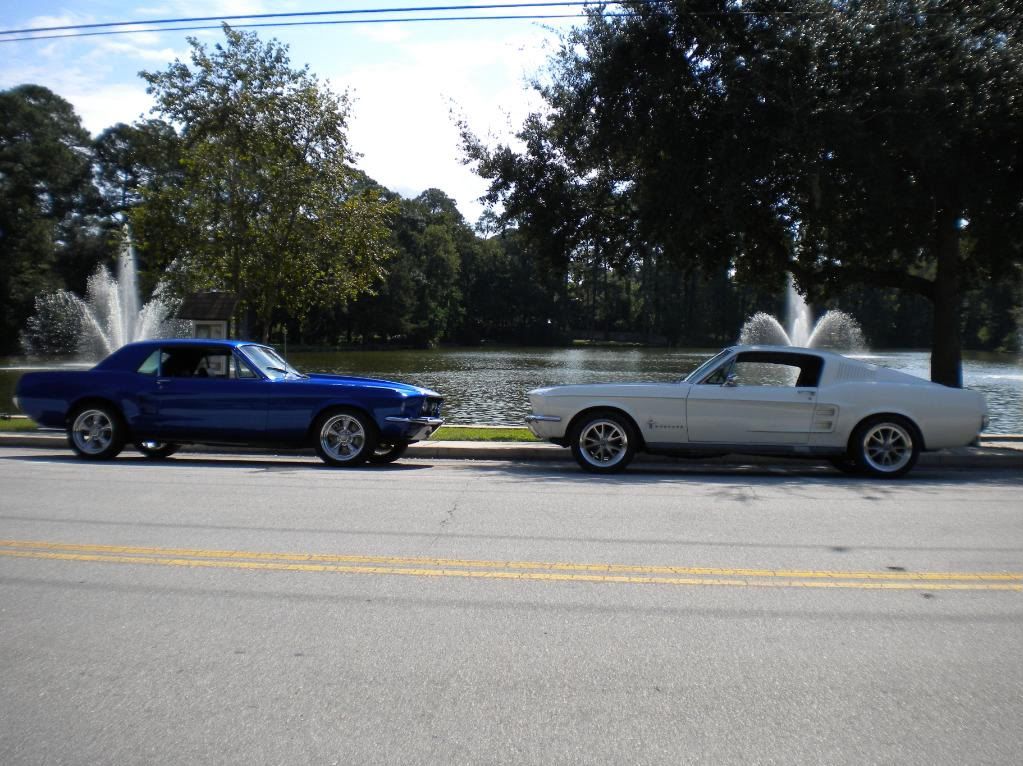
My fastback before it was taken apart and rottisiere restoration began accompanied by my 67 couple.

     Thread Starter
 

11/04/2013 10:31 PM  #14


Re: Drip rail repair

1fststang wrote:

Had to fix lower a pillar area. Had a good amount of rust in this corner especially where the cowl vent overlaps. Seems the factory seam sealer failed and water got between the panels.  Had to make a couple pieces to fix this.

    Show-off!!  Nice work.
6s6


Get busy Liv'in or get busy Die'n....Host of the 2020 Bash at the Beach/The only Bash that got cancelled  )8
 

11/12/2013 5:10 PM  #15


Re: Drip rail repair

Little bit more progress. Had a few rust holes behing where the end caps go.
N
Not necessarily the prettiest repair but I cut out the bad and made about 3 separate patches.

     Thread Starter
 

11/12/2013 5:21 PM  #16


Re: Drip rail repair

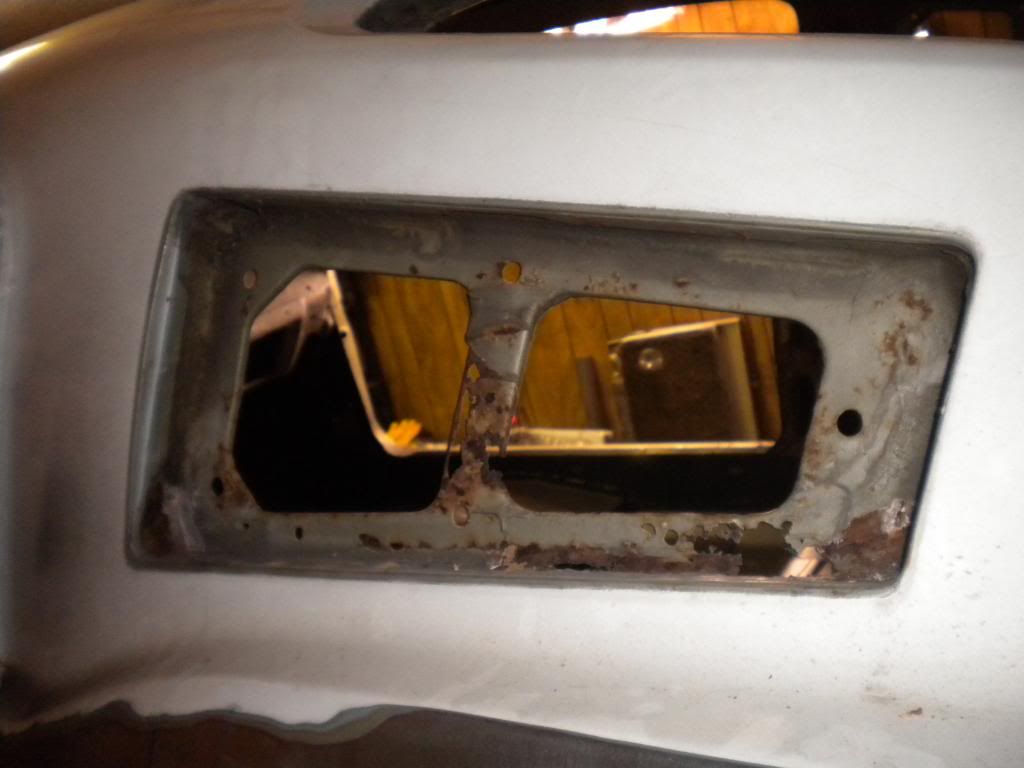
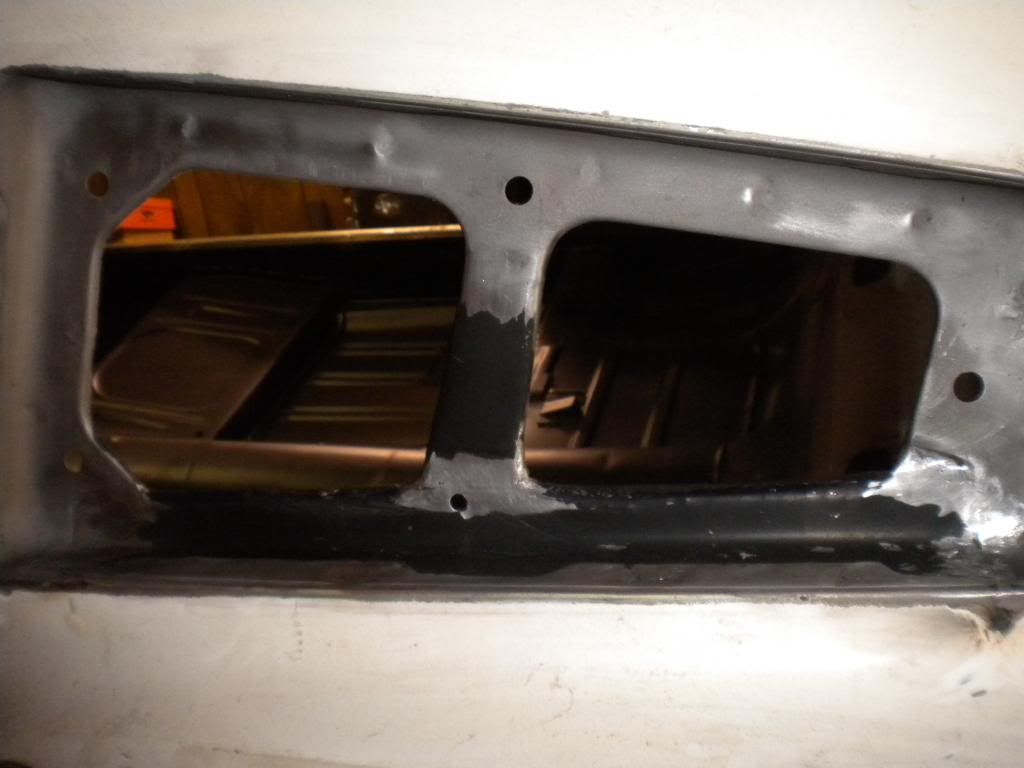
Here was an unusual place to repair,  Behind the rear vents.
H

Had to make a couple patches to fit together to fix this.  The bottom section goes underneath the lip in the vent area then has a 90 degree break.  Took some work to remove the piece and then fab up a patch.  When I finished it looked pretty good. Working on the passenger side now.


Then a couple coats of epoxy primer. I primed the areas behind the panels before welding the new piece in.
 

     Thread Starter
 

11/12/2013 5:26 PM  #17


Re: Drip rail repair

Drivers quarter patch and fron outter wheelwell patch.

The original quarter had terrible fitment from the factory where it met the rocker and lower door. At the wheelwell the quarter was about flush with rocker then in the middle it hung out over the rocker and at the door it was in further than the rocker which caused the door to not line up.  Have it fitting pretty well now.

     Thread Starter
 

11/12/2013 6:31 PM  #18


Re: Drip rail repair

Nicely done and thanks for sharing the pictures.....please keep the updates coming.........they provide the inspiration I need ......


11/12/2013 7:10 PM  #19


Re: Drip rail repair

Thanks,

Thats how I get motivated is looking at the work of others online.  There are some truly talented people working out of their garages. 

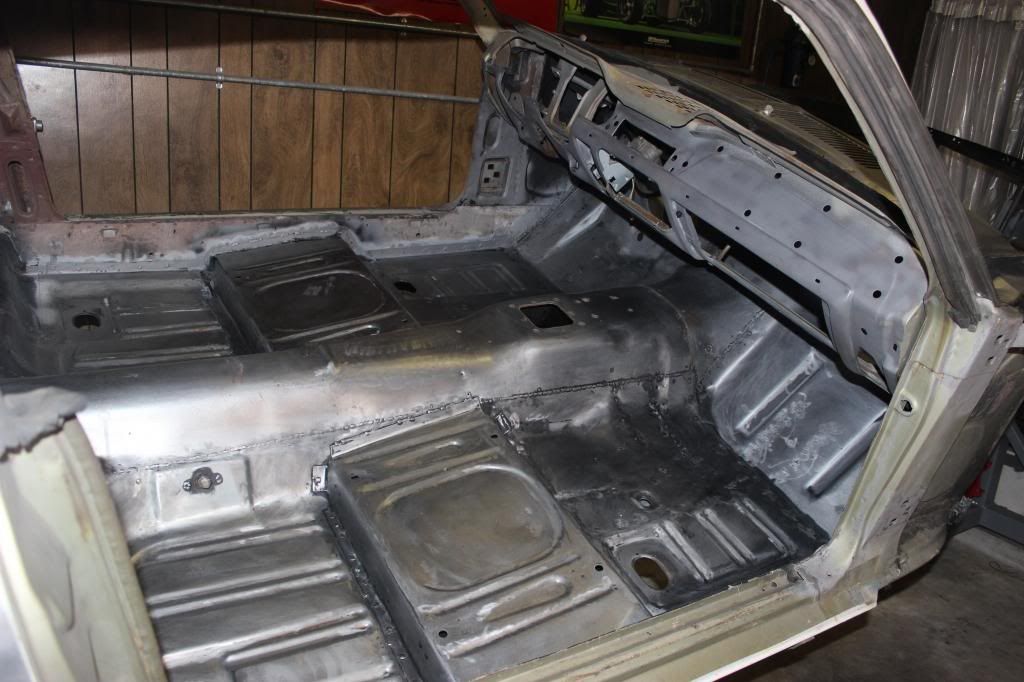
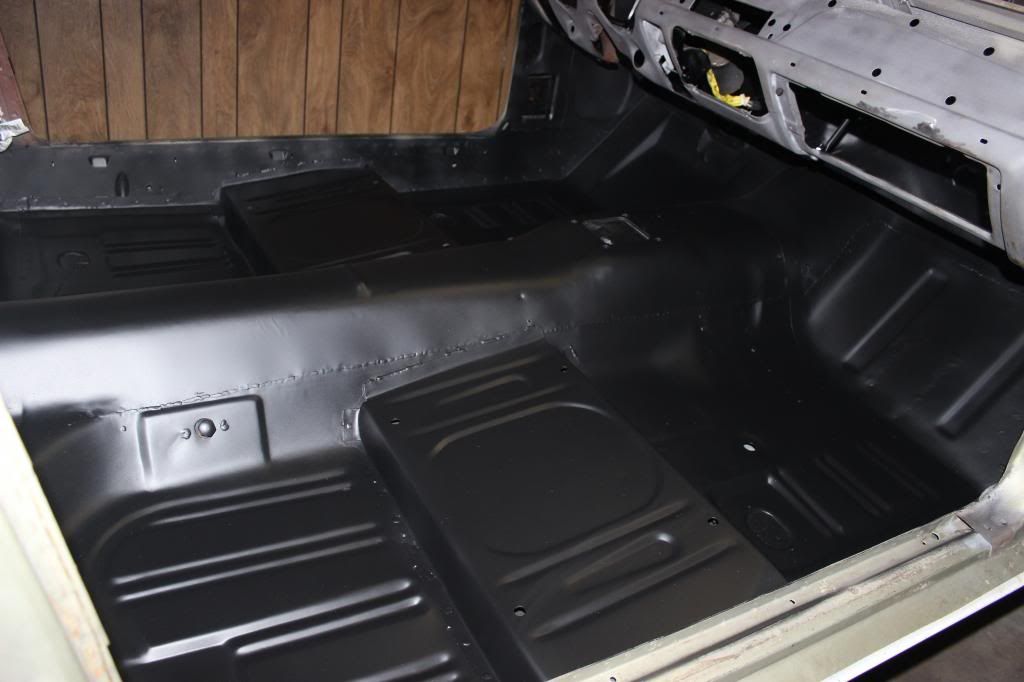
I replaced the floor pans, seat risers, toe boards, drivers torq box as well as added torq box to passenger side.


Then two coats ppg epoxy. Still need to seam seal. Most lap weld the new pans in but this time I butt welded them and learned a few tricks to get the new pans to line up perfect with the original. I ground the weld smooth from underneath but left a slight bead inside since it wont be seen.

     Thread Starter
 

11/12/2013 8:11 PM  #20


Re: Drip rail repair

You do nice work    what color is that paint you used to color?  


If multiple things can go wrong, the one that will go wrong will be the one that causes the most damage.
 

11/12/2013 8:41 PM  #21


Re: Drip rail repair

The black I am using is the PPG dp90 epoxy primer.  It has a nice satin slight sheen to it.  The car it self was orignally sauterne gold which is fairly rare on the 1967 fastback.  The orignal owner had it painted white a number of years ago.  The white paint looked ok but they took a lot of short cuts.  Like the door jambs left original as well as behind the aluminum rocker panel moulding.

I bought the car from the daughter of the oringal owner who(she) passed away and had driven it up til her 70's.  Her name was ?  you guessed it. Eleanor.  no kidding.

Car came with original owners manual and a big folder full of interesting receipts.

     Thread Starter
 

11/12/2013 8:59 PM  #22


Re: Drip rail repair

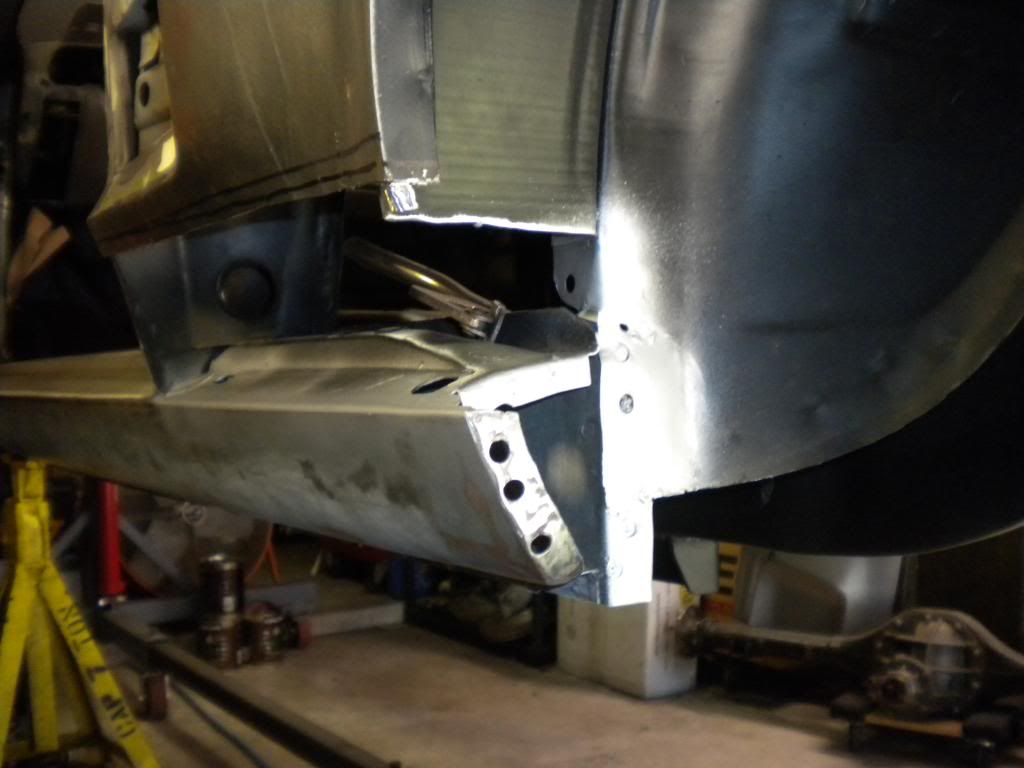
Here was one area I wasn't expecting to have to repair. When I removed the front of the quarter panel I discovered the top of the rocker was rusted.  Only the top the outside and inside where no rust at all.


     Thread Starter
 

11/13/2013 11:20 AM  #23


Re: Drip rail repair

Looks real good! You and I are in the same boat with all these odd little patches. Somtimes I feel like I'm knitting ah quilt rather then restoring ah car


It's hard to type "funny"
 

11/13/2013 6:19 PM  #24


Re: Drip rail repair

well this about wraps up my sheet metal work on the body.  Next step is to start stripping any paint off to bare metal, spray 2 coats epoxy then couple coats of surfacer and start block sanding.  I am sure i have a few more patches on the fenders or doors but those should be easy.
 

     Thread Starter
 

11/17/2013 7:36 PM  #25


Re: Drip rail repair

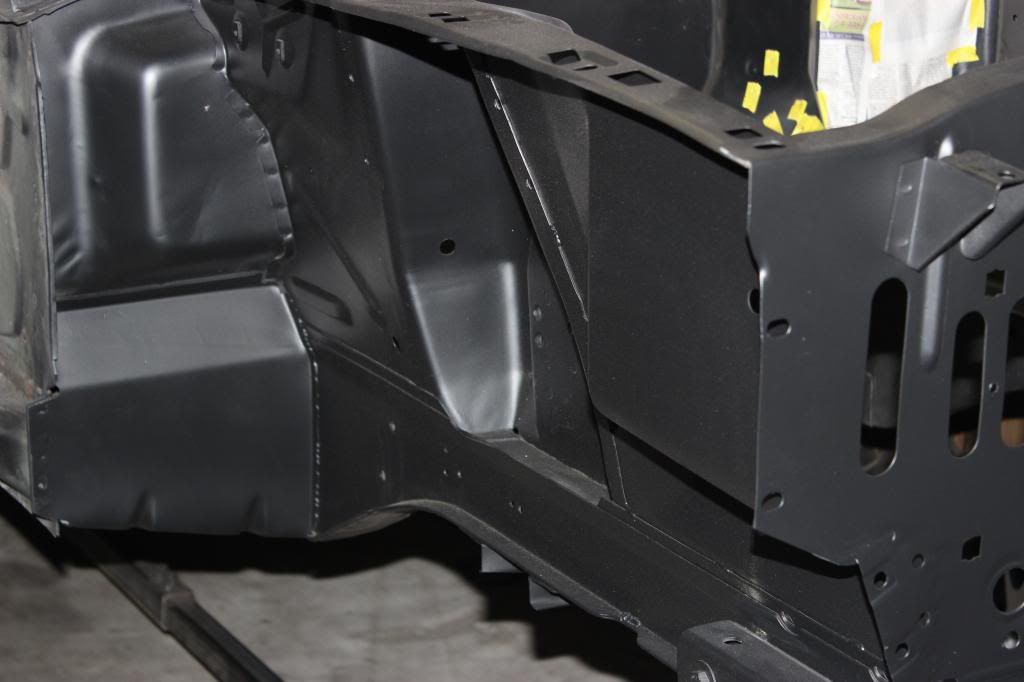
Inner fender apron on driverside where panels overlap had a bit of rust.  Have seen this on many Mstangs.
Both layers had to come off.
Out with the old in with the new.
All wrapped up maybe a skim coat of fiberglass filler after epoxy primer to fill any grind marks.

     Thread Starter
 

Board footera


REMEMBER!!! When posting a question about your Mustang or other Ford on this forum, BE SURE to tell us what it is, what year, engine, etc so we have enough information to go on.