| ||
Visit MustangSteve's web site to view some of my work and find details for: FYIFORD Contributors' PICTURES - Power Brake Retrofit Kits for 65-66 Stangs - Classic Mustang FAQ's by MustangSteve - How to wire in a Duraspark Ignition - Mustang Ride Height Pictures and Descriptions - Steel Bushings to fit Granada Spindles to Mustang Tie Rods - Visit my EBAY store MustangSteve Performance - How to Install Granada Disc Brakes MustangSteve's Disc Brake Swap Page - FYIFORD Acronyms for guide to all the acronyms used on this page - FYIFORD Important information and upcoming events |
Offline
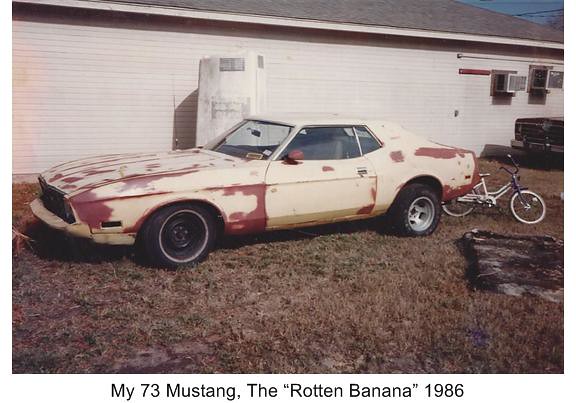
I have liked Mustangs since I was a kid, don’t know what drew me in for the first time. At 16, I bought my first Mustang, it was a 73 coupe. It had a 351 Cleveland with a C-4 auto. It didn't run when I bought it. I was working for a small mechanic shop at the time, the owner helped me to get it running.
Scan 3
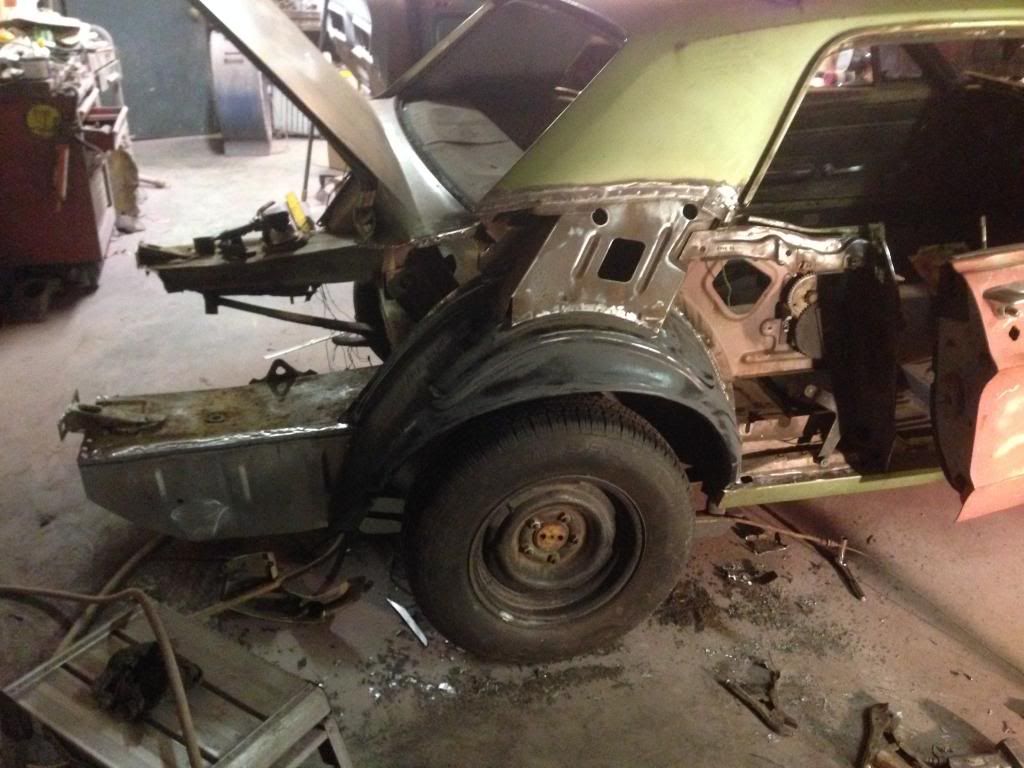
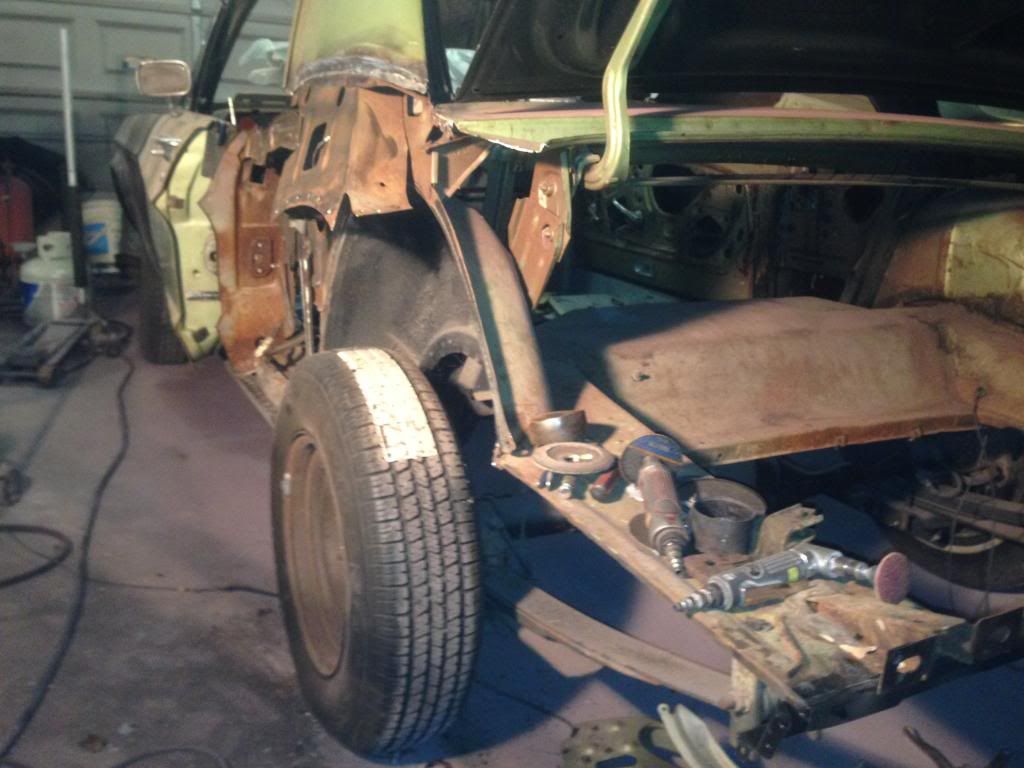
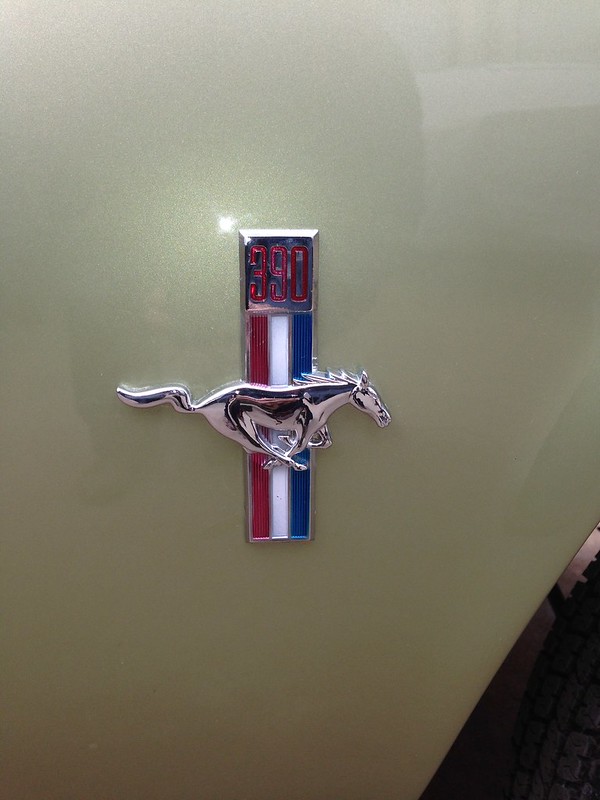
This was the second one. I bought it from a guy I went to high school with. The 390 was locked up, the 4 speed was intact and it was complete when it came home. This was taken after I pulled the motor. This is the car I still have. Its now at the body shop getting a make over!!
.
Scan 37
The 85 GT with a 5 speed is the car I miss. I had a lot of fun driving it to work and out on the weekends.
I attempted to go drag racing. I had a body and drive train, but could never get it together before life took over.
Scan 16
Scan 20
Update Pics 9/21/2020
Last edited by Bolted to Floor (9/21/2020 10:53 PM)
Offline
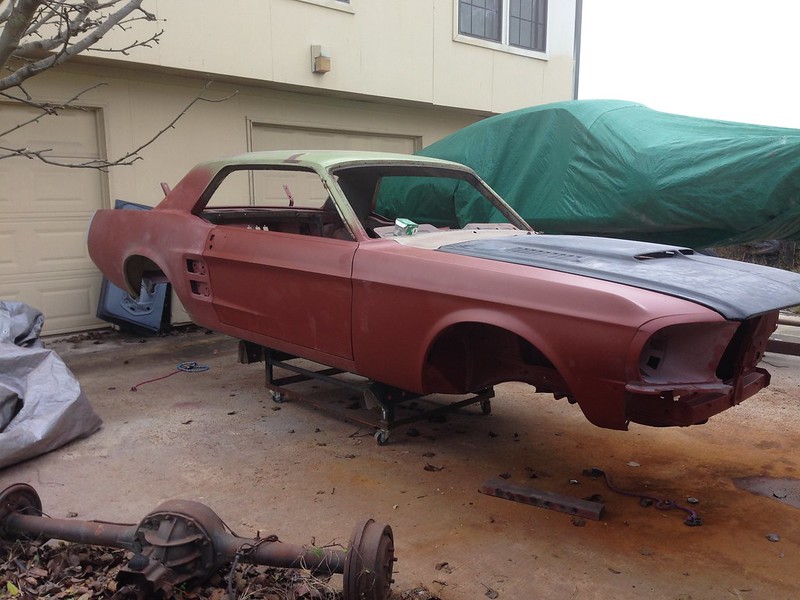
This was taken right before we loaded it on a trailer to go to the body shop. I submitted this picture for the calendar, MustangSteve said blemishes in the paint were OK!!
IMG_5152
Updated picture 5/9/18
Updated pic 9/15/2020
Last edited by Bolted to Floor (9/15/2020 9:46 PM)
Offline
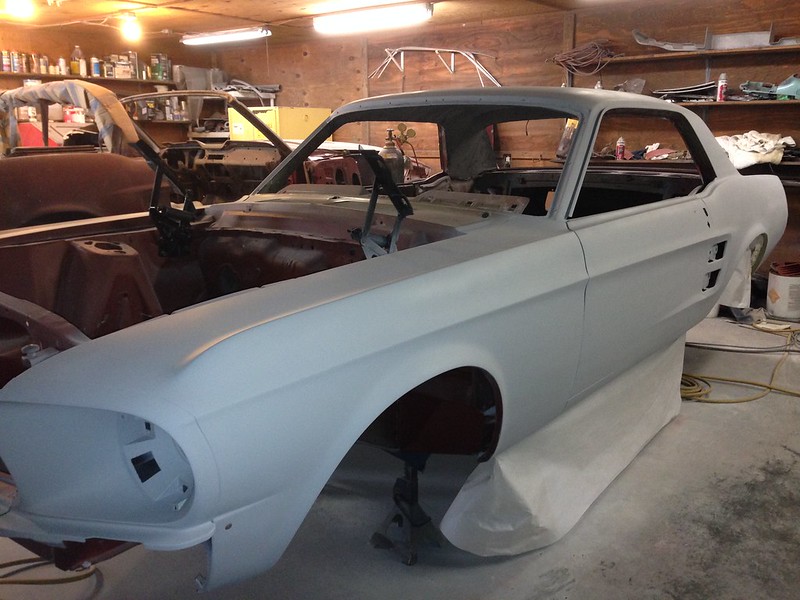
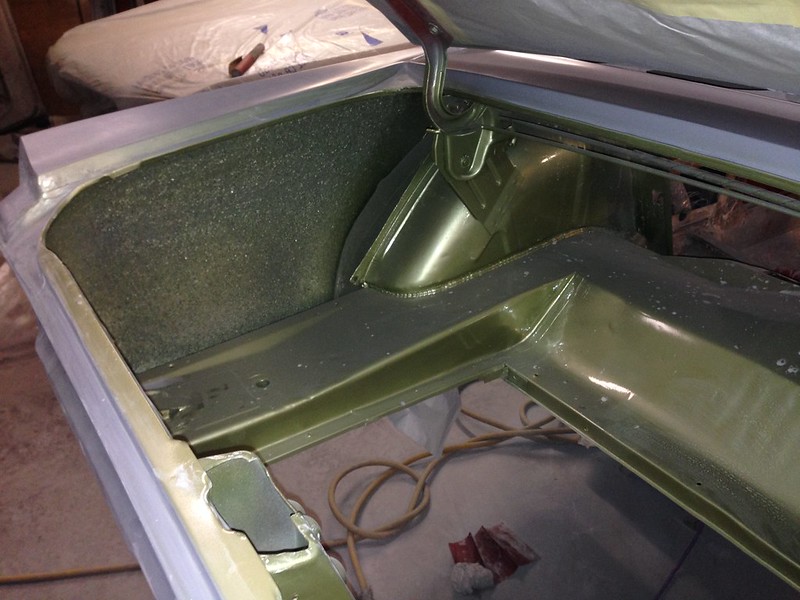
Some progress from the body shop. He sealed the cowl before preping and painting.
IMG_5199
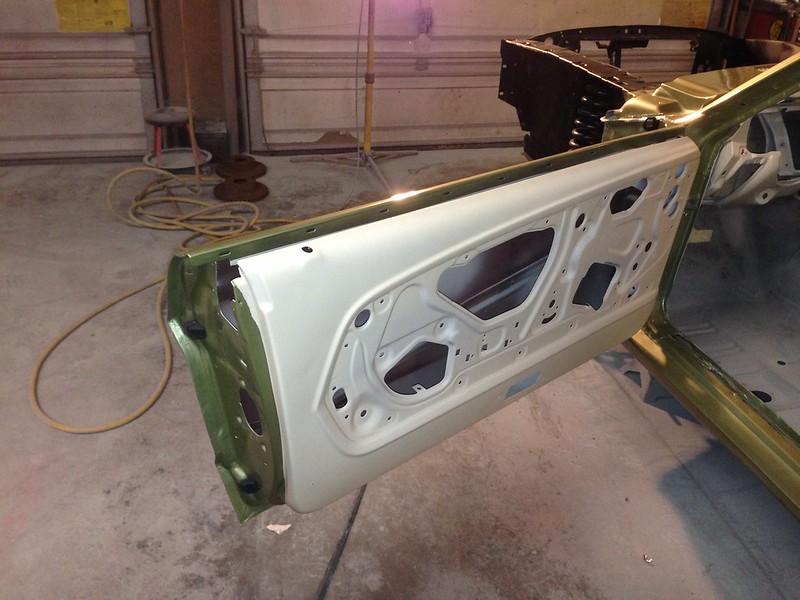
Then painted the inside body color before he tacked them together.
IMG_5228
Updated pictures 5/9/18
Updated pics on 9/15/2020
Last edited by Bolted to Floor (9/15/2020 9:54 PM)
Offline
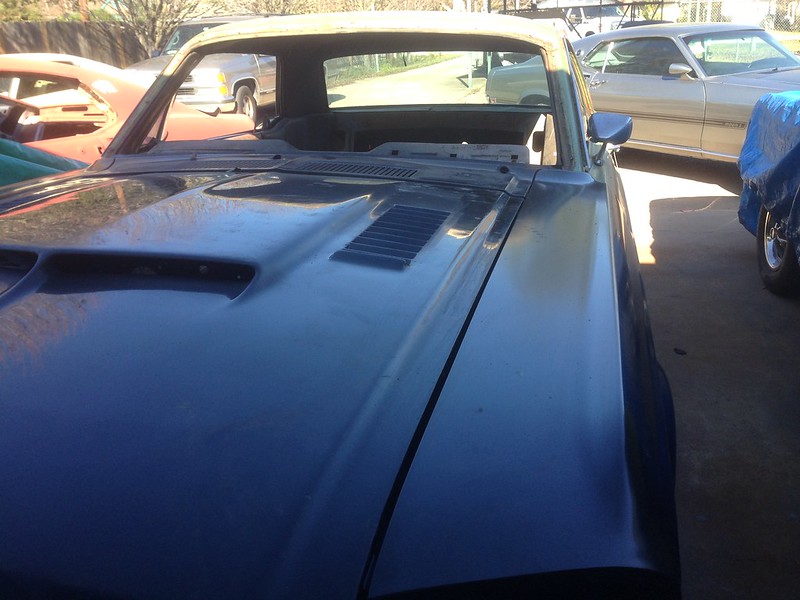
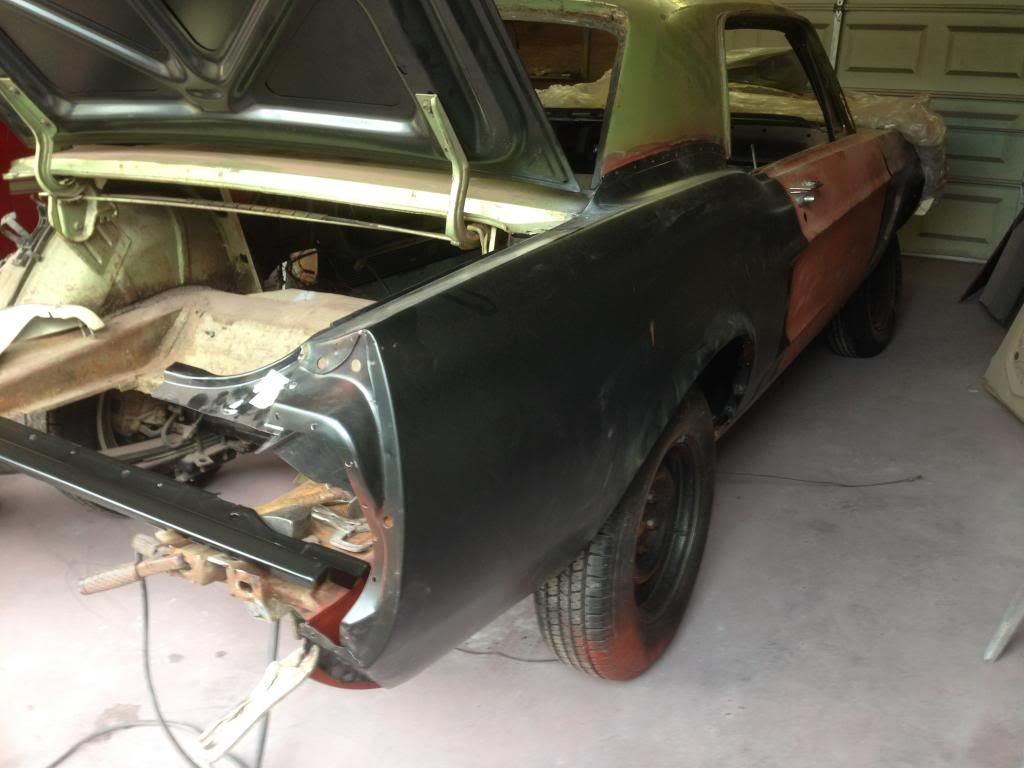
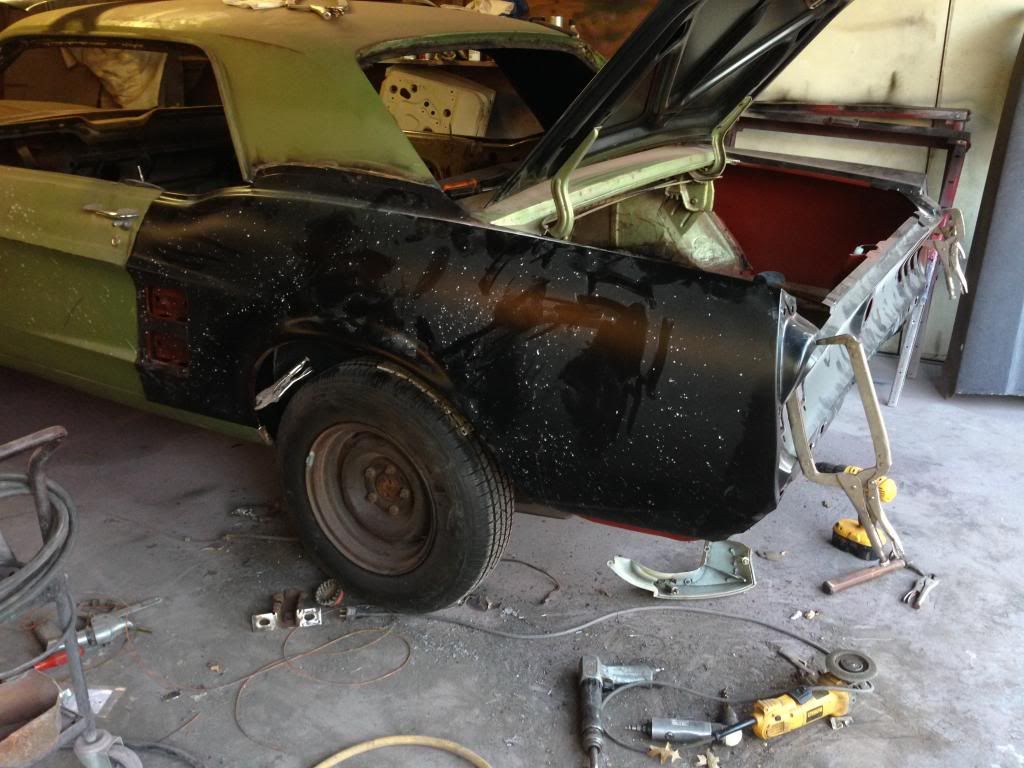
The cowl was fitted along with the new fenders and a Shelby hood with the fish gills. I had removed the cowl a while back but was too unsure about getting it fitted properly before welding.
IMG_5325
The gaps looked good where the cowl and fenders meet.
IMG_5575
IMG_5870
Updated Pictures 5/9/18
Updated pisc 9/15/2020
Last edited by Bolted to Floor (9/21/2020 10:54 PM)
Offline
I really did not feel capable to do all this to the car. The body guy took it all in stride.
IMG_5872
IMG_5909
IMG_5971
IMG_5976
Updated pictures 5/11/18
Updated Pics 9/21/2020
Last edited by Bolted to Floor (9/21/2020 11:09 PM)
Offline
Loaded up parts and pieces to go make a test fit for the new TKO 600 before the body work made it too far. I was told there maybe some trimming to do on the brace in the trans tunnel. It all went together pretty good with plenty of room in my opinion. The shifter came up in the hole just like Modern Driveline said it would, but the body guy said the shift boot would be slightly off center in the console. Will have to wait and see. By the way, I did the work on the floor boards several years ago then coated them with CRC cold galvanizing compound. My finished product on the fllorboards was another reason I didn't want to attempt body parts that everyone can see.
IMG_5332
IMG_6016
IMG_6019
IMG_6010
Updated pictures 5/11/18
Updated Pic 9/21/2020
Last edited by Bolted to Floor (9/21/2020 11:27 PM)
Offline
I didn't realize March was the last update. To me, the bottom of the car looked like it had been used for curb jumping with the pieces that were bent on the bottom side. It has rolled around on the rotisserie, the bottom has been straightened, blasted, and coated. Sub frame connecters welded in after they were corrected. The rear perch was at different angles on each connector, now they match.
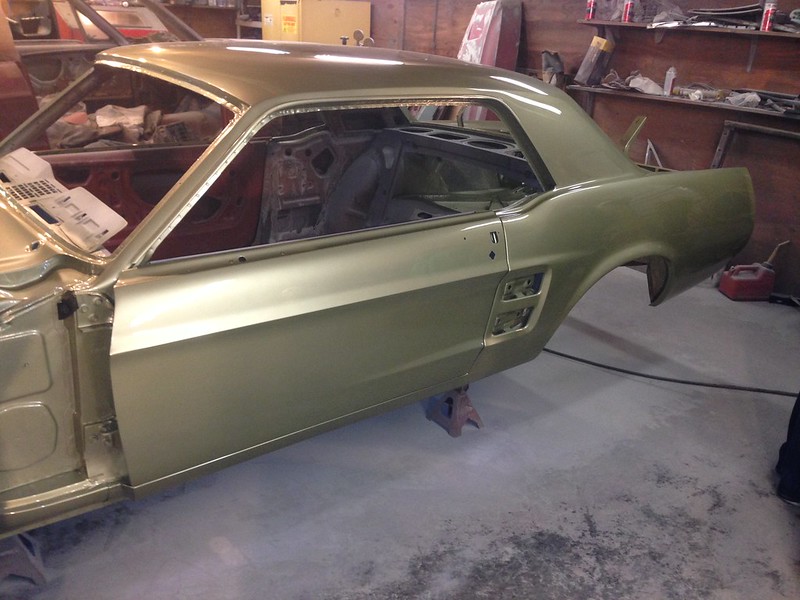
It’s now off the rotisserie and sitting on jack stands back inside the shop. The doors got new skins. This leaves the roof, the panel behind the rear window, and the upper stone deflector as the only original exterior sheet metal on the car. The door, fenders, hood, and trunk lid have all been fitted. It’s on the second round of high build primer and getting closer to paint.
I have been cleaning up the suspension parts and getting them painted. Turns out I had later upper control arms with the 3 hole ball joints and replacement coil springs. The hubs needed to be turned down to fit in the new take-off brake rotors that go with the front brake kit from Mustang Steve. The first method was a piece of all thread rod through the center and chucked up in the drill press with a file held against it at a slow speed. The better method was to keep the rod and chuck it up in a battery drill and spin it against the bench grinder until it fit with a small amount of clearance.
Updated pics 10/30/2020
Last edited by Bolted to Floor (10/30/2020 10:05 PM)
Offline
Offline
Offline
Looks familiar!
Offline
Very nice. Who's your bodyman? Im in houston too.
Offline
Ozblitz wrote:
Very nice. Who's your bodyman? Im in houston too.
Bruce at Surefire Restorations is doing the work on the car. I waited almost 2 years to get my car in. He does quality work at a fair price. The time frame has ran longer, but the dollar amount for labor is very close to the original estimate. He was recommended by a local parts vendor, the owner of a 67 Shelby GT 500, and the owner of a 66 Mustang GT. Bruce had restored both cars. He knows these cars inside and out. He has been helpful for parts, guiding me to the better quality repop parts from the different vendors or recommending the factory parts cause they are just better.
I have tried to make weekly visits to see the progress on the car and its turned into a friendship with Bruce along the way.
Offline
Offline
The big day coming home from the body shop.
Updated pictures 10/30/2020
Last edited by Bolted to Floor (10/30/2020 10:41 PM)
Offline
Love it!
Offline
Thanks Birdman. Between work, kids, and house projects, I haven't had a chance to work on it yet. But it will get there.
Offline
Almost there! Looks great!
Offline
Yes, Brent, it's a lot closer than it used to be. All I like is finishing it, right!!
Offline
You should update your avatar to show what the car looks like now.
Offline
Hornman wrote:
You should update your avatar to show what the car looks like now.
Still working on a better picture Hornman
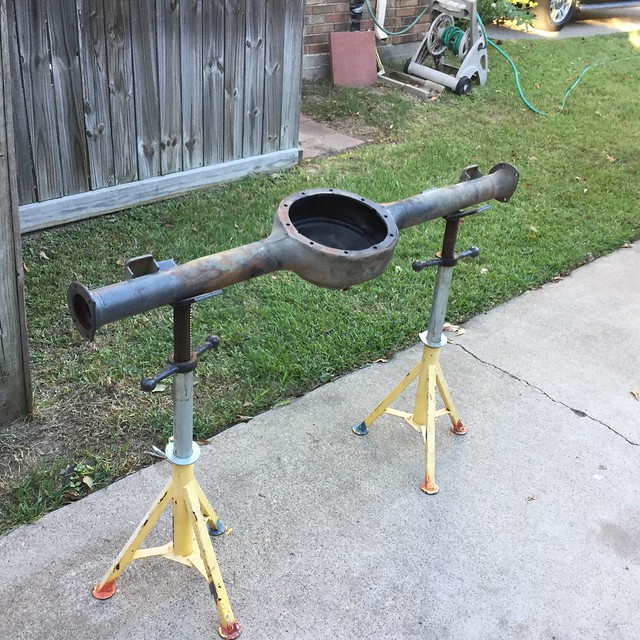
Here are some pics of the new to me rear end parts.
Updated pictures 5/11/18
Updated pictures again on 9/19/22
Last edited by Bolted to Floor (9/19/2022 10:32 PM)
Offline
Very nice workmanship, congrats!
Offline
Thanks for the encouragement and compliments. I have been able to do some work on the car here lately, but not near enough.
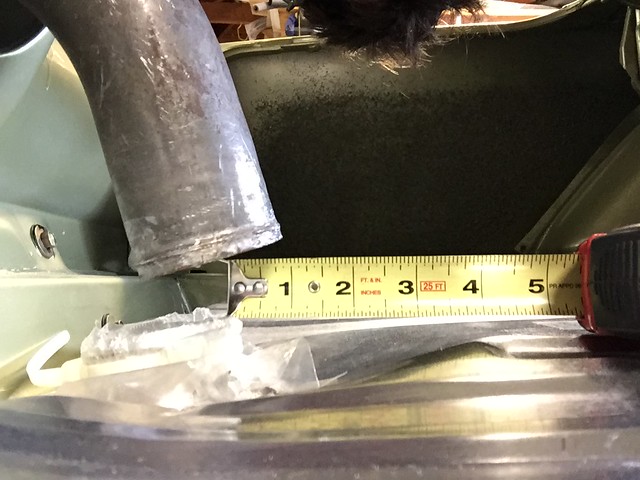
I got the gas tank in first to provide a staging area to set the parts I gathered up for install. I am continually looking through all the places in the garage for stuff I have bought. Got a nice little pile of double purchases so far. I bought a 20 gallon tank cause that FE should be thirsty. Since the filler inlet is at a different angle than my tube, I took a precision approach to the leveling of the area. 2 pound hammer and the block of wood in the photo. “Beet to fit, paint to match”, “Caulk it if it leaks” does not apply to the gas tank!!!
I worked the block of wood around the inlet and didn't get too much deflection in other areas.
Pic 1342
Then the filler tube needed to be sectioned since it overlapped the tank inlet about an inch. A little work with a hack saw and tig welding by a guy from work and it fits like a glove.
Pic 1352
Pic P7170019
UPDATE: Turns out this was a poor approach. It made the inlet area the lowest part of the tank and a bad thing for filling. It prevented trapped air from escaping. I used an allthread rod bent as a J bolt through the filler with unistrut supported by 2x4's on the tank mounting flange to pull it back up.
Last edited by Bolted to Floor (9/19/2022 10:32 PM)
Offline
I had intended to install the Explorer disks out back. So the new 31 spline axle shafts from Jegs got new bearings. (I wasted money on the axle installation kit “bearings, seals, and wheel studs” from Jegs. Poor shopping on my part. The bearings were fine, the seal was wrong, and the wheel studs were too short.) Since there were no bearing on the shafts, the guy at the 4X4 shop only charged $20 for the bearing install. The axles went in with the U shaped bearing retaining brackets from Jegs. This was right before the car went back to the body shop for some touch up work. I was in a hurry.
The main reason I wanted the Explorer brakes was for the drum feature of the emergency brake. After purchasing the stuff from pick a part and getting it home, I was not thrilled with how the bearing would be retained. Or some of the methods I had seen used after I did more research. They should work great on a big bearing housing, but I have the small bearing!!! For me, gap between the axle housing flange and the Exploder backing plate that results from the bearing sticking out of the housing should be measured precisely for a machined spacer. I saw a post where someone used your typical 3/8” flat washer as the spacer!!! I couldn’t go that route as a permanent fix, but it did well enough to get the car winched on and off the roll back for a trip to the body shop.
Next step was the buy the GT rear brackets from MS and do a mock assemble. Everything looked like it would work without the axle shaft installed. With a new set of axle bearings from the parts house, about $45, & $80 bucks to get the old bearings off and new ones installed. I made certain to mark the axles and the retaining brackets as right and left and gave the guy a copy of the instructions. My poor choices had cost me enough money so far, I didn’t want to add a shop mistake to cost me more. Luckily, it all worked out well. The back brackets got installed without issue, then the rear end went back together. Now, I can’t remember if I put the additive, or gear oil for that matter, in the rear end for the traction lock unit???? And I need to install the pinion snubber. Too many mental notes, they all run together.
For the rear, I bought new stuff from Blue Oval industries. It was the Ford racing M-2300-G2 conversion kit for a 9”. It was $225 shipped to the house. New calipers, rotors, machined spacers for rotor, mounting hardware for big bearing housing, brake pads, and dust shields. It’s a lot of stuff and that box was heavy, I guess they are closing it out. I also bought new Ford flexible brake hoses for connecting to the hard lines from the place that TKO had mentioned. Next came the emergency brake cables. I looked at setting it up just as MS shows, but it looks like the end of the cable will pull at an awkward angle as the lever pulls forward. After some thought, I cut some card board templates for a bracket that could be welded to the spring plate. A 9/16 nut with a 9/16 drill bit ran through it is perfect for the cable ends to slide into. It keeps a nice arc as it goes through the motion. The pictures are with the suspension at full droop, the cables are tight to the spring and spring plate, but should be OK when the suspension is loaded. After I got them installed, I realized I will need to do something different for traction bars!!! Tonight as I’m typing this up, it dawns on me that I could have mounted it to the U-bolt in the same area as the bracket. Hind sight, right.
Pic 1685
Fresh from welding
Pic 1690
Had to cut down on the metal bracket Ford put on them and they worked out well. The hoses had clips for connecting the ABS cable, I guess, to them. That got cut off and rounded with a file.
Pic 1691
Pic 1688
That same type of tab welded to the nut to space it out from the center of the U-bolt would have probable worked. The length of the cable may come into play though.
Updated Pics 9/19/22
Last edited by Bolted to Floor (9/19/2022 10:30 PM)
REMEMBER!!! When posting a question about your Mustang or other Ford on this forum, BE SURE to tell us what it is, what year, engine, etc so we have enough information to go on. |