Goals:
- Have a clean door that does not need water shield goop
- Improve the new door panel by strengthening the low quality fiberboard and making it water resistant so to eliminate a separate water shield
- Eliminate the clips as a mounting system. Use neodymium magnets instead
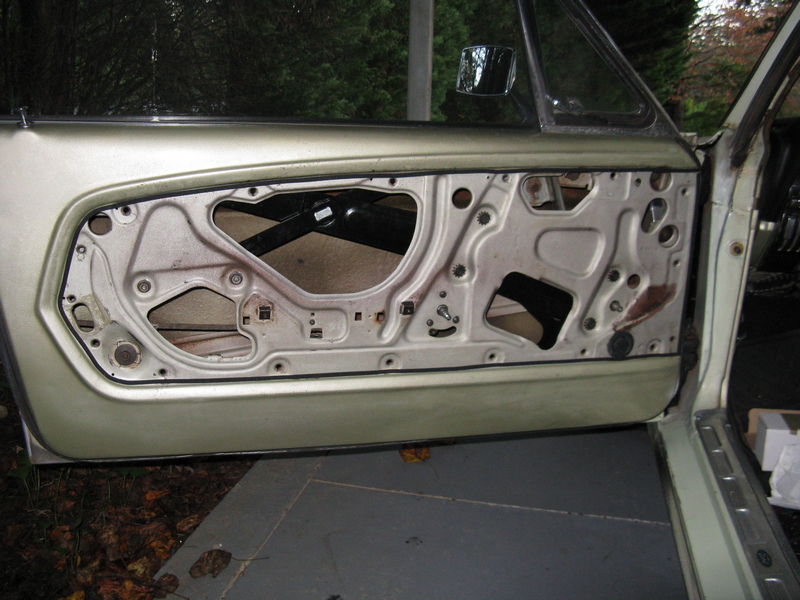
Begin by prepping the door. After removing the old door panel and water shield, clean the door completely of the goop used to attach the old water shield. I ended up using a small container of diesel fuel and a small brush to do the initial cleaning. This melted away the old goop pretty quickly. Next, I wiped the door with WD40 which easily removed the residue left behind by the diesel fuel cleaning. Last, I degreased the door completely.
The first thing I installed on the door was a border of neoprene foam weather stripping. I used 1/4" wide by 1/8” thick. Here’s a photo of the door with the weather stripping:
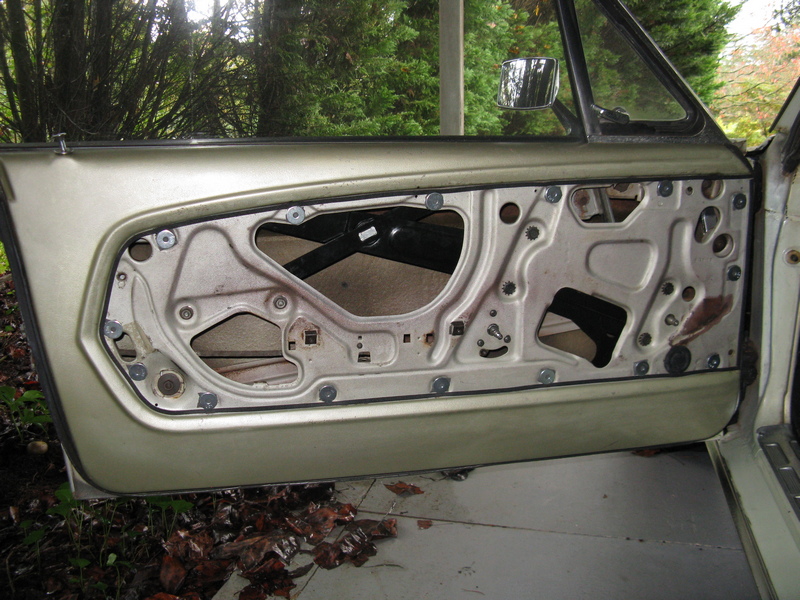
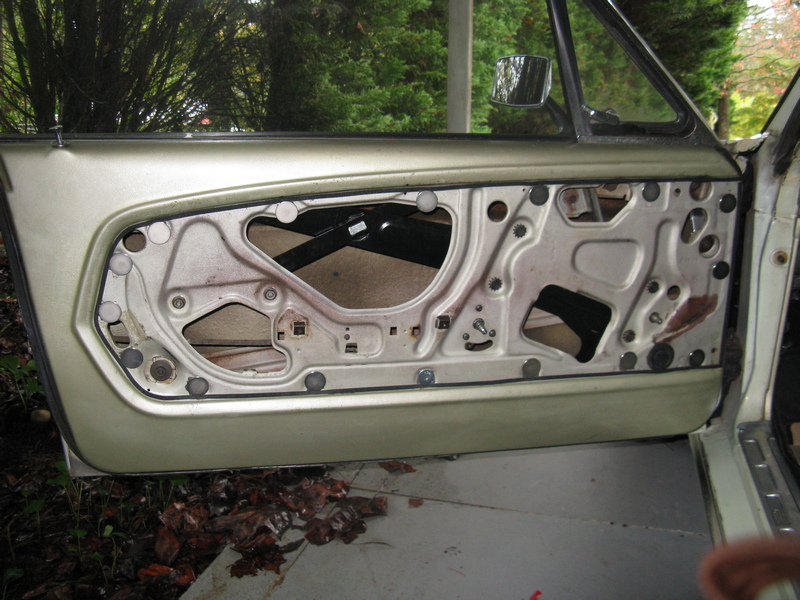
Next, because my magnets were 1.25 inches diameter, I had to install a 1 inch washer under the magnet. I was then able to install the magnets. I used 3M grey molding tape to install these to enable me to remove them in the future if I ever need to.(For the passenger door, I have ordered 1 inch by 1/8 inch thick magnets so that I will not need the washers.) Here are two photos showing first the washers attached, then the magnets attached.
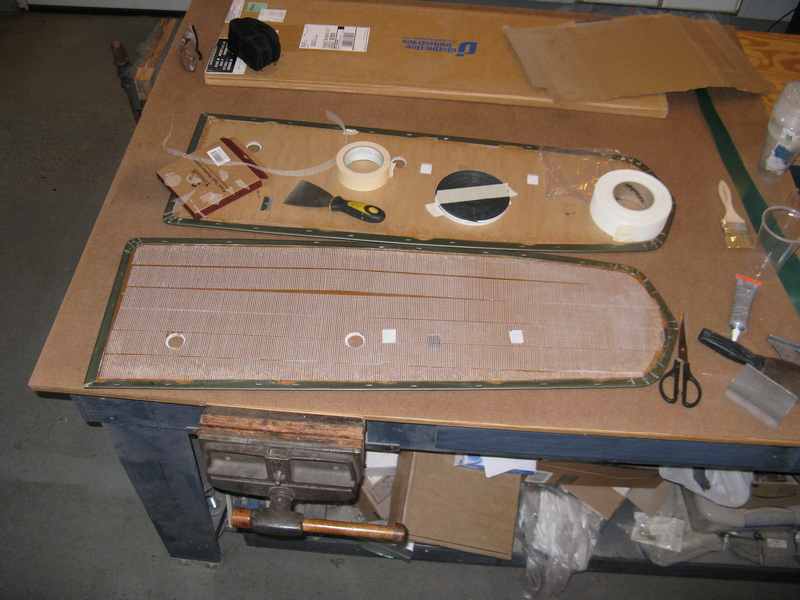
Preparation of the door panel:
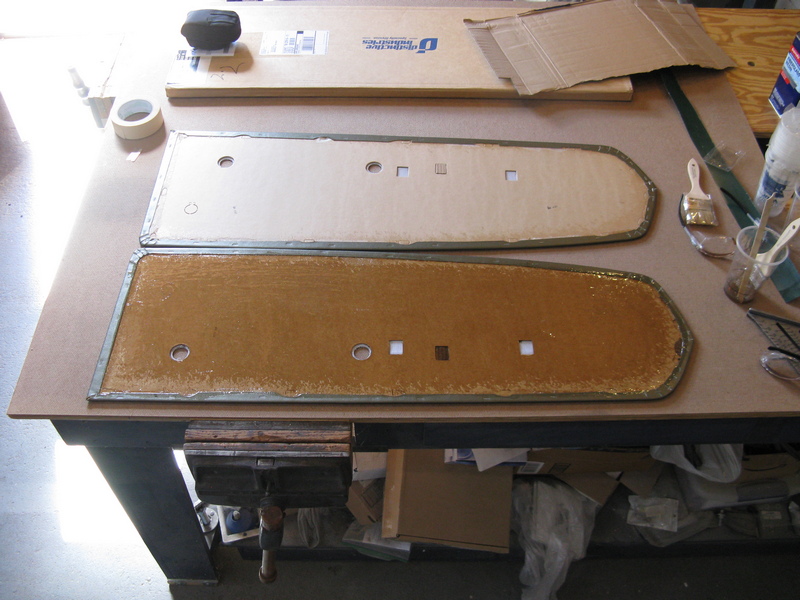
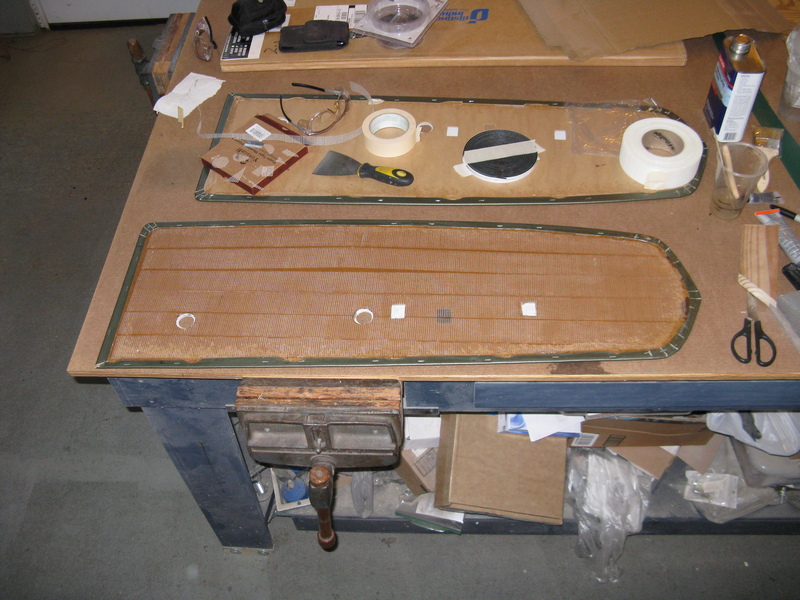
To strengthen and seal the door panel, I first applied a coat of fiberglass resin directly to the door panel fiber board. This first coat took just over 2 ounces of resin. Below you can see the passenger panel without resin and the driver’s side panel with the first coat of resin dry.
Next I applied the fiberglass tape:
Then I applied the second layer of resin to the door panel. This coat required almost 5 ounces of resin. Note: The panel is stronger now but still flexes if you lift it only from the middle.
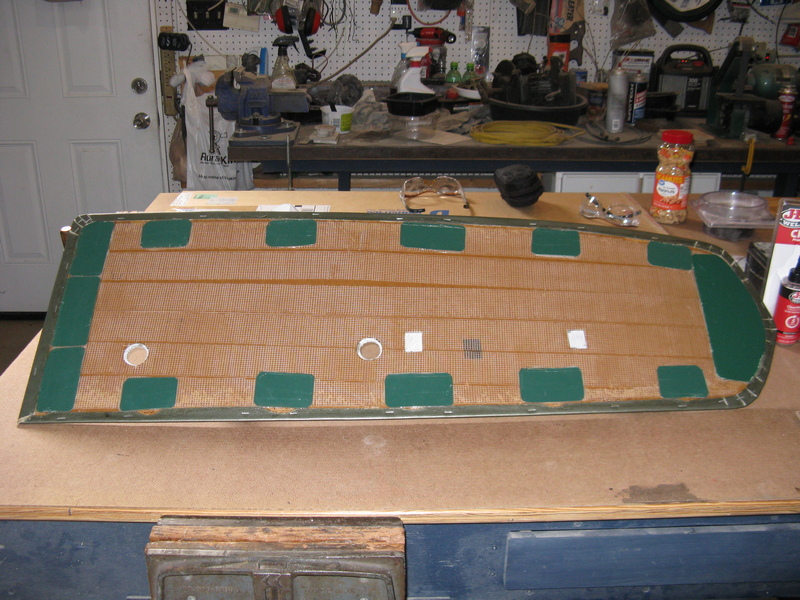
Next, I attached strips of sheet metal to the panel to enable the magnets to be used as the mounting system. I happened to have some old roofing sheet metal so I used it. I found 5 minute Epoxy glue worked best for gluing the metal to the fiberglass. I chose JB Weld Clearweld as the glue I used.
Here is the door panel after gluing all the necessary strips:
Now the panel is waterproof, so installing it is simply to place it on the door. Notice that the magnets hold so securely that vinyl is stretched over the metal mounting points for the arm rest. This also demonstrates that the strengthened door panel is rigid enough to lay flat even before the arm rest is installed.

Here is a shot of the completed installation: (Yes,I prefer the ’67 window crank handles over the ’68 style.)


 1 of 1

 Rufus68 wrote:


