**** The photos did not copy. PM me and I will email you the file. *****
*****I also have Steve's write up saved I can email to anyone who wants it. *****
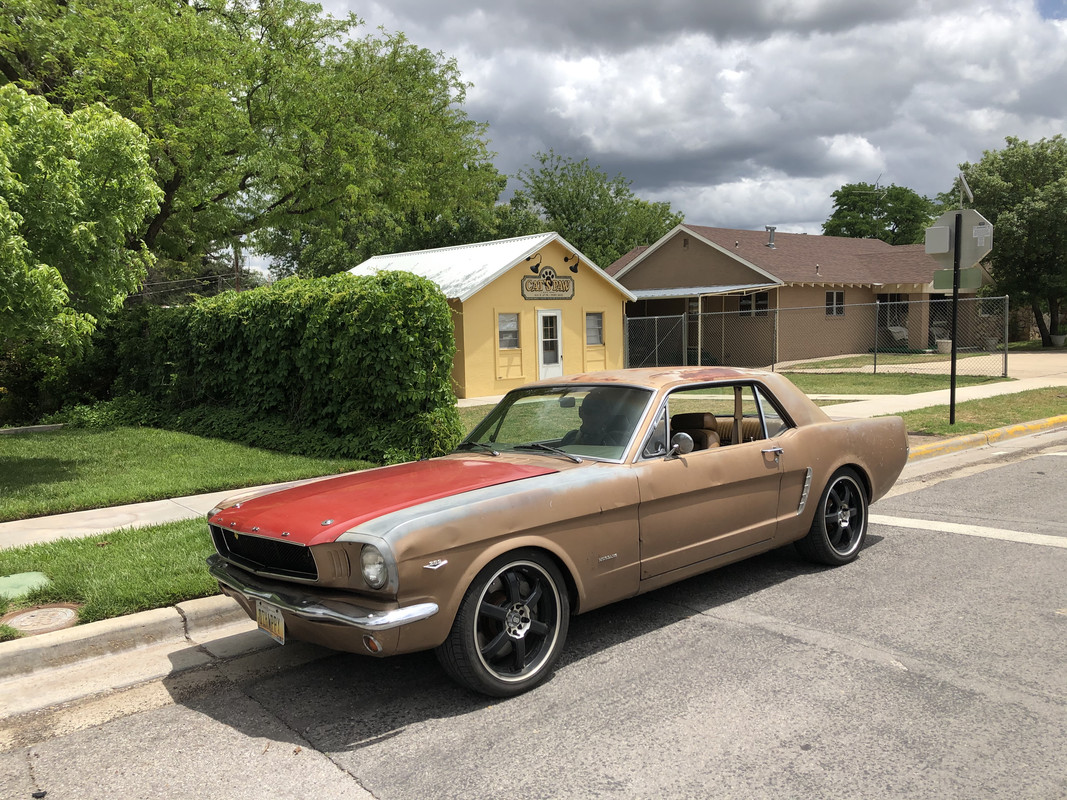
I found this radiator article from when I updated my 66 Coupe.
1964-1966 Mustang Radiator Conversion DIY By
“GearHeadPeter”
January 27, 2011
We all know that the radiators in our cars are not the best, especially if you have done any customization to the engine, which makes it prone to overheating.
What I have done, with the help of Rick Farr of Old Air Products and Griffin Radiators is convert my older 16” radiator to a 24” radiator with dual 2800 cfm fans. My conversion was for a 65 fastback with 4-speed, and Old Air Products R134a AC system.
Parts needed:
[list=1]
[*]Radiator ( manual 14-7-568BC-CXX or automatic XX-X-XXXXX-XXX)
[*]Dual 2800 cfm Fans (17-1523SA with sensor & harness 17-1523S, Condenser Fan Harness Kit 500101)
[*]Radiator and AC condenser Mounting kits (60-NPN)
[*]AC condenser – SuperKool High flow 24x16 in – if you have AC (11-1624)
[*]AC Drier (Black, Chrome or Natural aluminum finish) – if you have AC (21-323A)
[*]AC Drier bracket (Black or Chrome finish). There is an “IN” engraved on one side of the AC drier, and this faces the condenser (front of the car) – if you have AC. (41-0322)
[*]Upper Radiator hose (2), filter (Gano or Tefba) to trap particles from your engine.
[*]New lower Radiator hose with steel inner spring to prevent hose collapse.
[*]64-66 Battery tray w/67 Hold downs (C5ZZ-10732-D)
[*]New custom made AC hoses from old system to new drier, from drier (IN) to lower condenser fitting, and new upper compressor hose to upper condenser fitting.
[*]Radiator fluid about 3 gallons. I used Evans NPG+ coolant for the much higher boiling point, with no corrosion properties as you do not use any water in the system. Follow the Evans directions for flushing your system before you start the conversion. I also used a 7 lb. radiator cap thanks to the lower pressure by Evans.
[*]Saber saw and saber saw blades with 32 teeth per inch for fine cut and less sharp edges.
[*]Ty-wraps, 4” and 7” from Home Depot or where you can get them cheaply to tidy everything up.
[*]Floor jack and jack stands to raise the front of the car.
[/list]
1 Getting Started:
Note: Disconnect and remove the battery, disconnect all electrical wires for the headlights as you disassemble, and drain the radiator.
[list=1]
[*]Jack up the car and place it on jack stands. Drain the old coolant out, but if you are doing an Evans coolant conversion follow the directions first. After that is done drain the system, remove the upper and lower radiator hoses and disconnect and remove the battery if it is still in the engine compartment.
[*]If you are like me you took a lot of time getting everything on your car to fit just right, especially the front clip. I only took my front clip off in three sections. Tape off anything you think might get scratched as a precaution in the removal process. Of course you can take apart your car any way you want as I am just letting you know how I did mine.
[*]The first step was taking out the grill, hood latch mechanism, and if you have the running Pony in the center remove it also with the grill molding joint cover so that it looks like the pic below.
[/list]
[list=1]
[*]The next step is to remove the head light doors or eyebrows that go over the head light buckets -four screws).
[*]Once the head light covers (eyebrows) are removed take out the bolts that hold the head light bucket in place – four bolts. Just under the each head light extension are screws holding the extensions to the lower grill bar, and make sure they are tight. When you remove the headlight extensions, lower grill bar, and head light buckets it wants to bend at the point and could scratch your paint. At this point get someone to help you remove in one section the head light extensions, head light buckets, and lower grill bar with all the grill molding attached. Place out of the way and again make sure the section does not bend at the extension as it could scratch your lower grill bar.
[*]Your car should look like this now with the Head light buckets, extensions and lower grill bar removed.
[/list]
[list=1]
[*]Yes the previous pics shows the new condenser installed as I did not take a pic of it when I first took it apart, sorry. For the bumper, lower valence, upper stone deflector along with the bumper guards I took this off as a single unit. Get a helper and put tape over anything you think might scratched. For the side bumper mounts to the fender I used a manila folder taped between the bumper side mount and the fender to not get it scratched. I did this as I did not want to have to realign anything as it took me so long to get it just right. Again, it is your car so do as you see fit, and I am explaining how I did this on my car.
[*]This is how your front end will look with everything taken off.
[/list]
[list=1]
[*]
[/list]
As shown in the pic above you will mask off the radiator support so that you have 16” (height) from the lip above the lower frame. Also measure across 24” so that you it cuts out the indentations that the smaller radiator used to sit. It should look like this, and remember you are cutting out from the inside of the blue tape so that you keep the 16”x24” dimensions.
[list=1]
[*]Use a 3/8” drill bit and drill out each of the four corners so that the saber saw bladed fits into the hole. Now cut everything that is inside the blue masking tape out keeping a 16” height and a 24” width. To get it square you might have to use a dremel cut-off wheel.
[*]If you have AC you might notice the black markings, which looks like this ] on the right. This is where the AC condenser upper and lower hoses will go, but the best part is that they will be now on the inside of the radiator support where you can tend to them if needed.
[/list]
3 12. With everything cut out the radiator support should look like this now:
[list=1]
[*]
[/list]
Rest the AC condenser so that it sits on the lip that is above the lower frame. Use wood shims so that the AC condenser is now about 1/4” above the lip as shown below.
[list=1]
[*]Center the condenser between the cut outs and determine where you need to cut for the hoses on the radiator support. Mark on the blue tape that is still on the right so that you will have extra room if it needs to be extended. Each cut out on mine was about three inches long and you can use a saber saw or dremel tool to cut out the slots. At this time you can test fit the mounting brackets that you got in the conversion package so that it looks like what I did above. You do not want the upper condenser mounting bracket to be above the upper-hose connection otherwise you will not be able to tighten it down. For the lower condenser-hose mounting bracket have it so that it is above the hose connection. This pic gives you a good idea as to where on the condenser mounting hardware will go based on the mounting holes on each side. Do not mount the AC condenser yet.
[/list]
4 15. Radiator and Dual electrical fan prep
[list=a]
[*]Place the dual electric fans over the radiator on the inside of the engine compartment. How you run your wire will determine if the fan wires are on top, like mine, or face the bottom. You will notice that the edges of the fan stick out about 1 1/2” inches past the radiator mounting tab. You can leave it if you want, but you will have so much trouble later trying to get everything to fit that it is worth the time to cut off the extra 1 1/2” from each side. I used a Saber Saw with the 32 teeth per inch to cut the extra off. The Griffin Radiator has mounting tabs on both the engine side and radiator support side so you can mount the fans and then mount the assembly to the mounting brackets.
[/list]
[list=a]
[*]With the extra material cut off from the dual fans place it again on the radiator to check for fitment. At this time you will drill the holes in the mounting tabs to mount the electric fan to the radiator. I used 1/4 x 20 bolts, and to make sure there was no vibration I put in four on each side for a total of eight. Just space them out so that there is the same space between each one.
[/list]
Notch out the mounting tab of the radiator that faces the front of the car for both the top and bottom condenser hose connectors. I took about 2.5” off of the top and bottom. [img]file:///C:/Users/dkral/AppData/Local/Temp/msohtmlclip1/01/clip_image015.gif[/img]
c. To make sure that the AC hoses will fit correctly on the condenser you will need to notch out the mounting tab of the radiator that faces the front of the car for both the top and bottom condenser hose connectors. I took about 2.5” off 16. Radiator and Dual Fan Assembly Installation
[list=a]
[*]The radiator and fans will sit on the lower frame rails as any higher the radiator cap will hit the hood.
[*]The top spacing of the radiator will be 1.5” in from the radiator support, and the bottom will be 1”. You will need to fab up mounting so that you can achieve that distance, but at the same time allow you to make changes to the depth if necessary. If you do not have AC then the radiator can sit closer, but be aware that the radiator cap will be very close to the upper radiator support.
[/list]
The Radiator mounting brackets will look something like what is pictured below with the mounting brackets for the AC condenser. There should be 1/4” between the AC belt and the fan motor.
c. Once the radiator is set to the dimensions above it is now time to place the AC condenser in the opening so that the condenser sits as close to the radiator as possible, but without touching it. I left about 1/8” between the AC condenser and the Radiator. This will allow the hood support to be put back in and not touch the AC condenser. Please see the pics below for mounting and fitment.The condenser will basically sit behind and 1/4” above the lip of the lower spacing.6
d. What you want to do is use as many of the same mounting holes for both the radiator and condenser so you might have to fiddle around with how the mounting brackets fit to achieve that.
17. Battery Tray Modification
[list=a]
[*]If your battery sits in the trunk now disregard this step. If your battery is still sits in the engine compartment then you need to do these modification.
[*]You will need to buy a new battery tray as the one you have will not work since the radiator is much wider now. 64-66 Battery tray w/67 Hold downs (C5ZZ-10732-D) for about $20.
[/list]
c. The first thing to do with the new battery tray is drill out the spot welds that hold the lower mounting bracket of the tray. The new battery tray to fit where it used to sit trim off 3/4” of the left side. This lower mounting bracket will actually be moved to the far right side of the tray, but you will need to determine where by test fitting it and the tray with the Radiator in the car.
[list=a]
[*]Attach the cut off lower mounting bracket of the battery tray to the to the original mounting points on the lower engine compartment wall. Place the modified tray so that it is as far left as possible in the battery area, and sitting atop the lower mounting bracket. You want the tray as level as possible so you will need to bend the attached lower mounting bracket towards the driver’s side while leaving about 1/4” space between the tray and the radiator as seen in the pic below.
[/list]
[list=a]
[*]Once you have determined where the lower tray mount has to sit you can drill the holes in the tray to affix the lower mounting bracket to the tray and also to battery shelf as shown below.
[/list]
18. Fan Wiring and Rely Installation
[list=a]
[*]Depending on whether you have the fan connectors coming up or pointing down will determine how your wiring will be done, and in my case I had the fan connectors coming up towards the top.
[*]The Temp switch was mounted on the Inlet side of the radiator as shown below.
[/list]
[list=a]
[*]The wiring for the Fans to the relays were done across the tops of each fan down to the relays on the lower drivers fender as shown below.
[/list]
d. The wiring from the Relays to the battery fuses for each fan was run under the top lip of the radiator support and dressed in flex tube, the grounds for the relays, fans, etc were done on the driver’s side radiator support as shown below:
19. Over Flow Tank Placement
[list=a]
[*]Since there is so little room left I went with a tall billet aluminum over flow tank. Mounting was quite tricky and I had to make my own mounting brackets. I mounted them to the existing mounting bolts for the fan to the radiator. I also had to leave room so that I could be the new AC lines in as shown below:
[/list]
[list=a]
[*]Over flow tube placement is shown below, and I used 1/4” fuel line:
[/list]
20. AC Drier Placement and AC lines
a. The AC drier is placed on the drivers inner fender up high and make sure the word IN that is engraved on the AC drier is facing the front of the car as shown below:
21. Installing the Hood support and finishing up pics:
a. When reinstalling the hood support ensure it does not touch the AC condenser, and if you have to
put in a washer behind the bolts where it attaches to the upper radiator support brace.
[list=a]
[*]Reinstall all parts removed in Steps 3 through 11.
[*]Install all hoses and tighten clamps.
[*]Fill up the radiator with coolant, about 3 gallons now as opposed to 1.5 gallons before. Run engine with radiator cap off until the thermostat opens to get all the air is out of the system. Be careful not to let the radiator fluid overflow as it will be hot and can ruin your paint. Let engine cool and add any additional coolant so that you have coolant about 1/2” from the bottom of the fill cap.
[*]Enjoy all you handy work, and Happy Motoring!
[/list]
Last edited by Dkralc (1/19/2022 2:30 PM)

 1
1 

 BILLY WALTON from GEORGIA wrote: